808Build: Walls and Trim
Its been about a month since disassembling the interior of the van and we’re now at the point where progress is picking up. Up until now, a lot of time has been spent with unexciting prep work – plugging holes in the floorpan, laying insulation, and getting ready for the wiring and plumbing. But with all the walls and major surfaces in I thought it was a good time to provide an update and show some pics!
Electrical
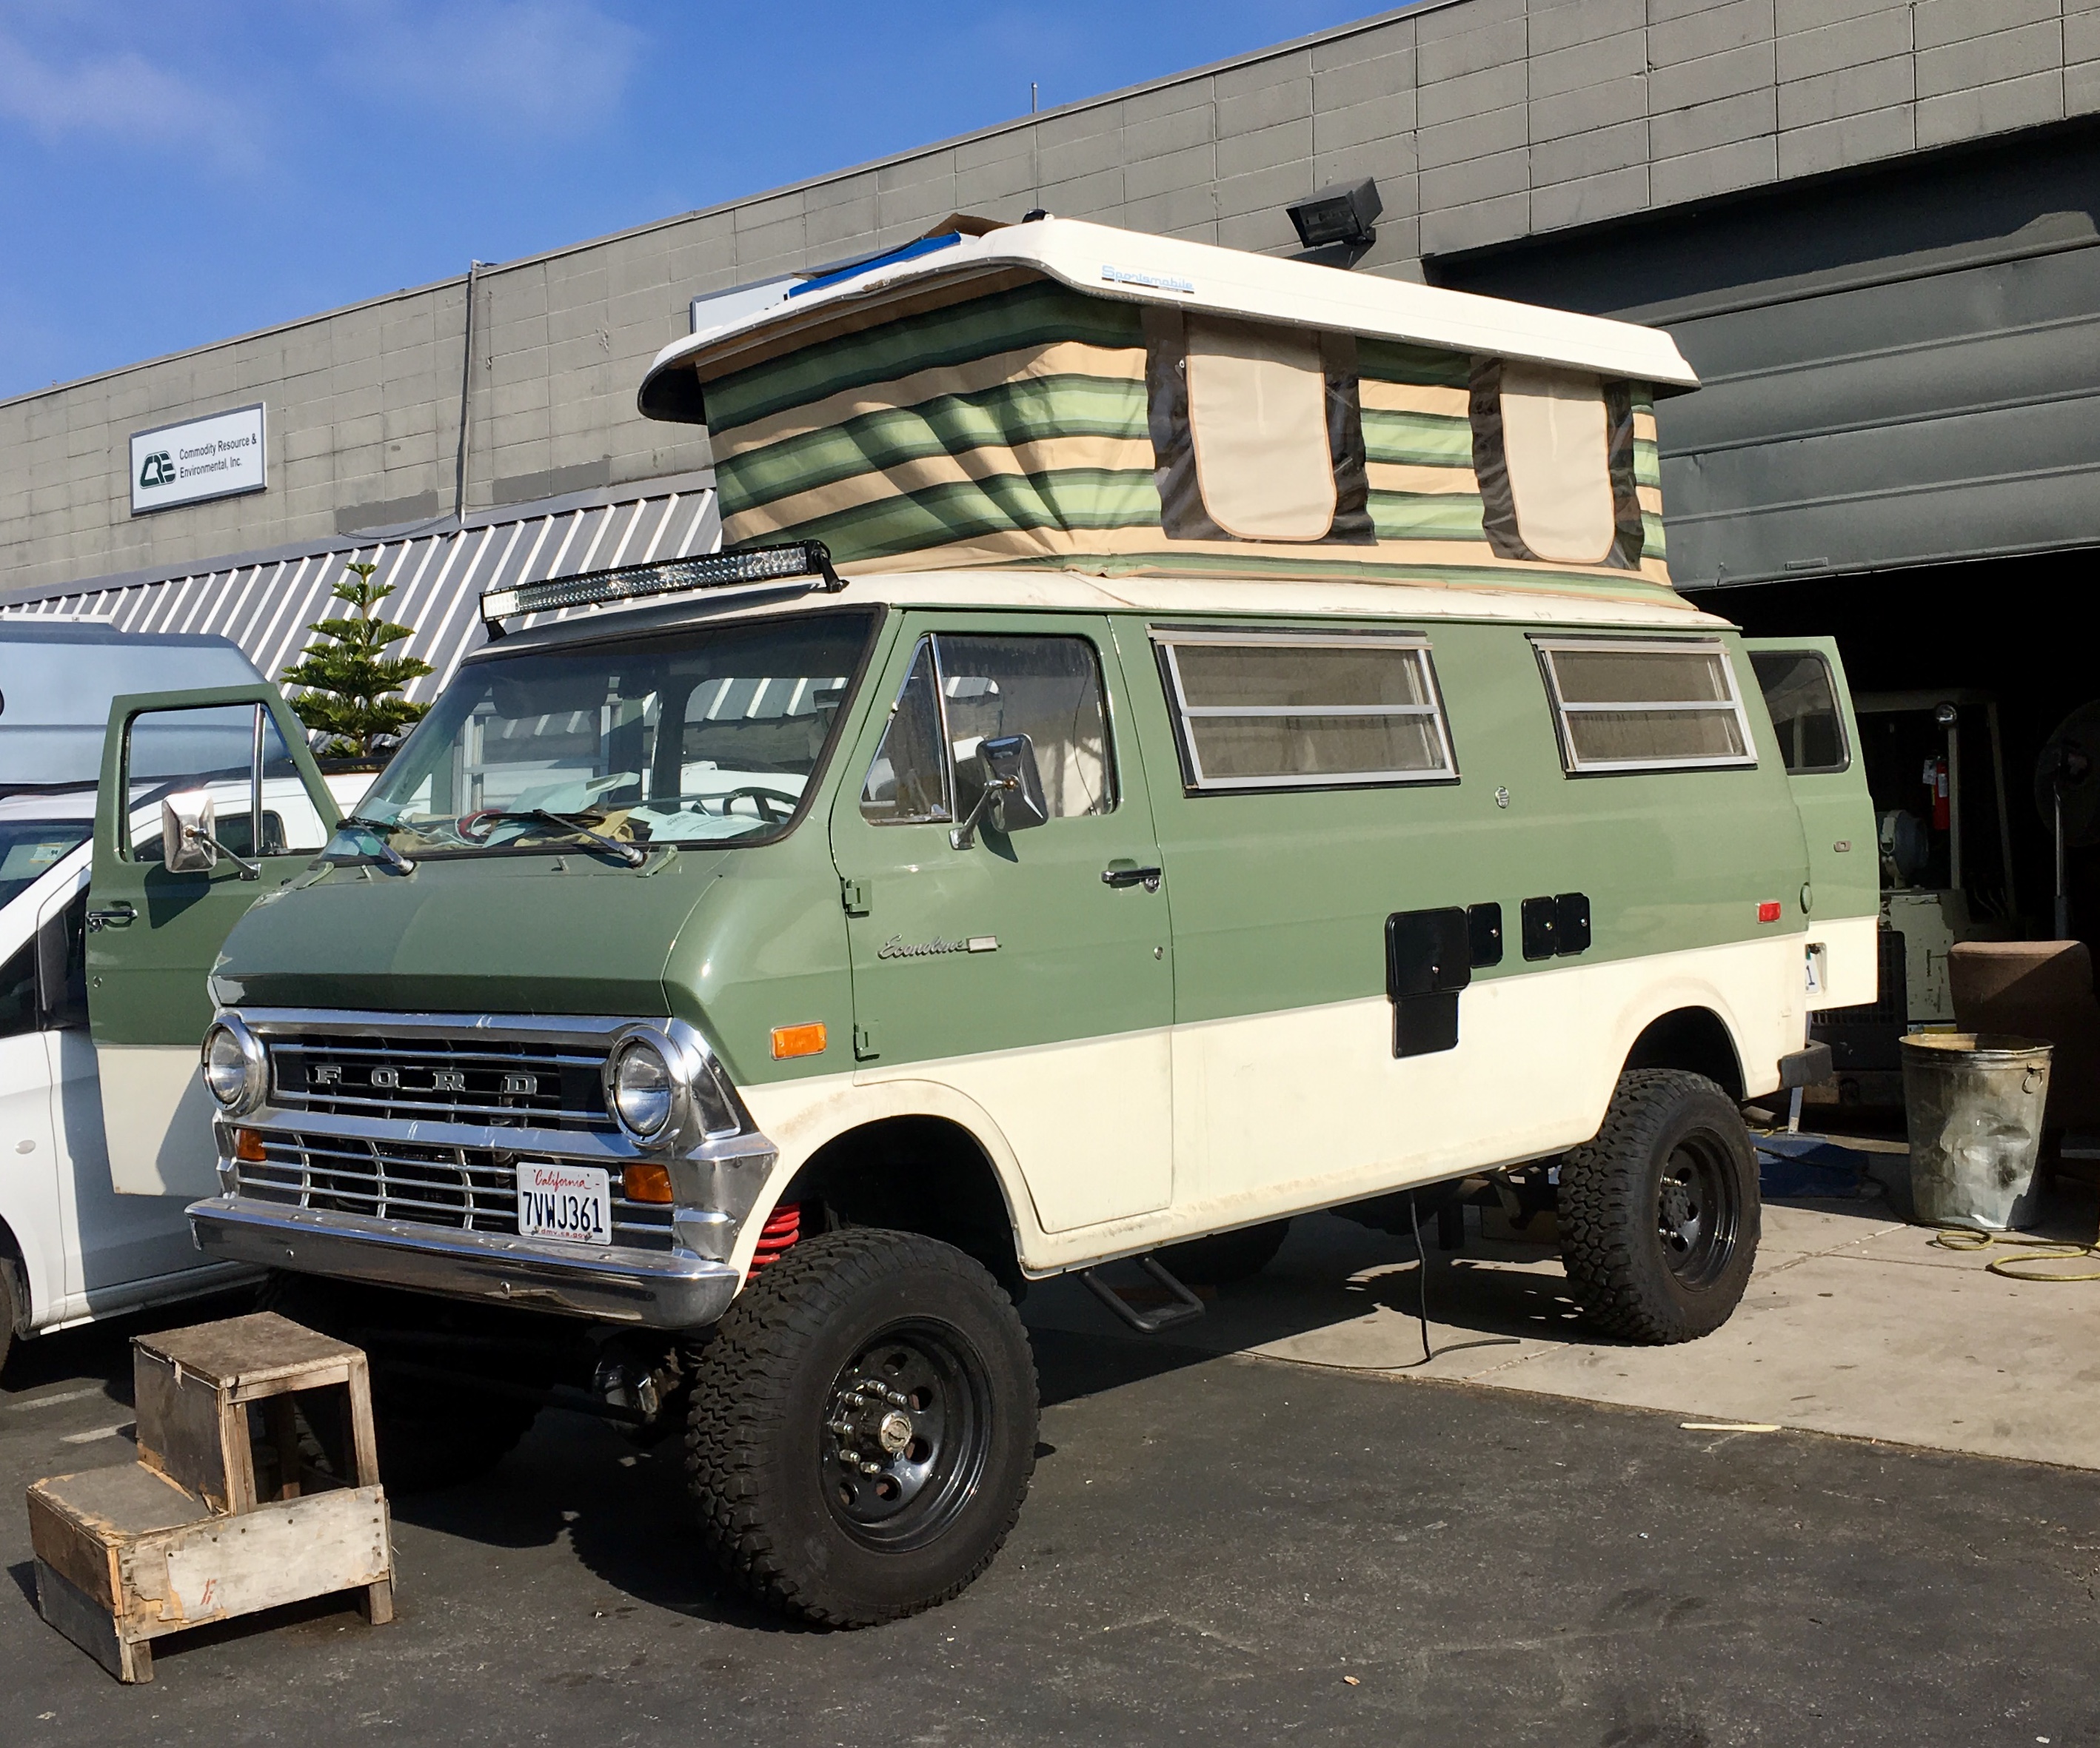
 I learned a few things with the CandyVan and wanted to beef up the power system for the 808Van to give me off-grid capability. For auxiliary batteries, I decided on two Lifeline 6V 320 amp-hour golf cart batteries wired in series. Other AGM batteries degrade fairly quickly and need replacement. But you can’t really argue with the duty cycles of golf carts, these batters will take a beating and provide consistent power for years. These are some serious batteries, so we built and installed a custom steel box under the floor to hold them and save on interior space. To keep the charge flowing, I went with a 160 watt solar panel mounted to the pop top.
Walls and Trim
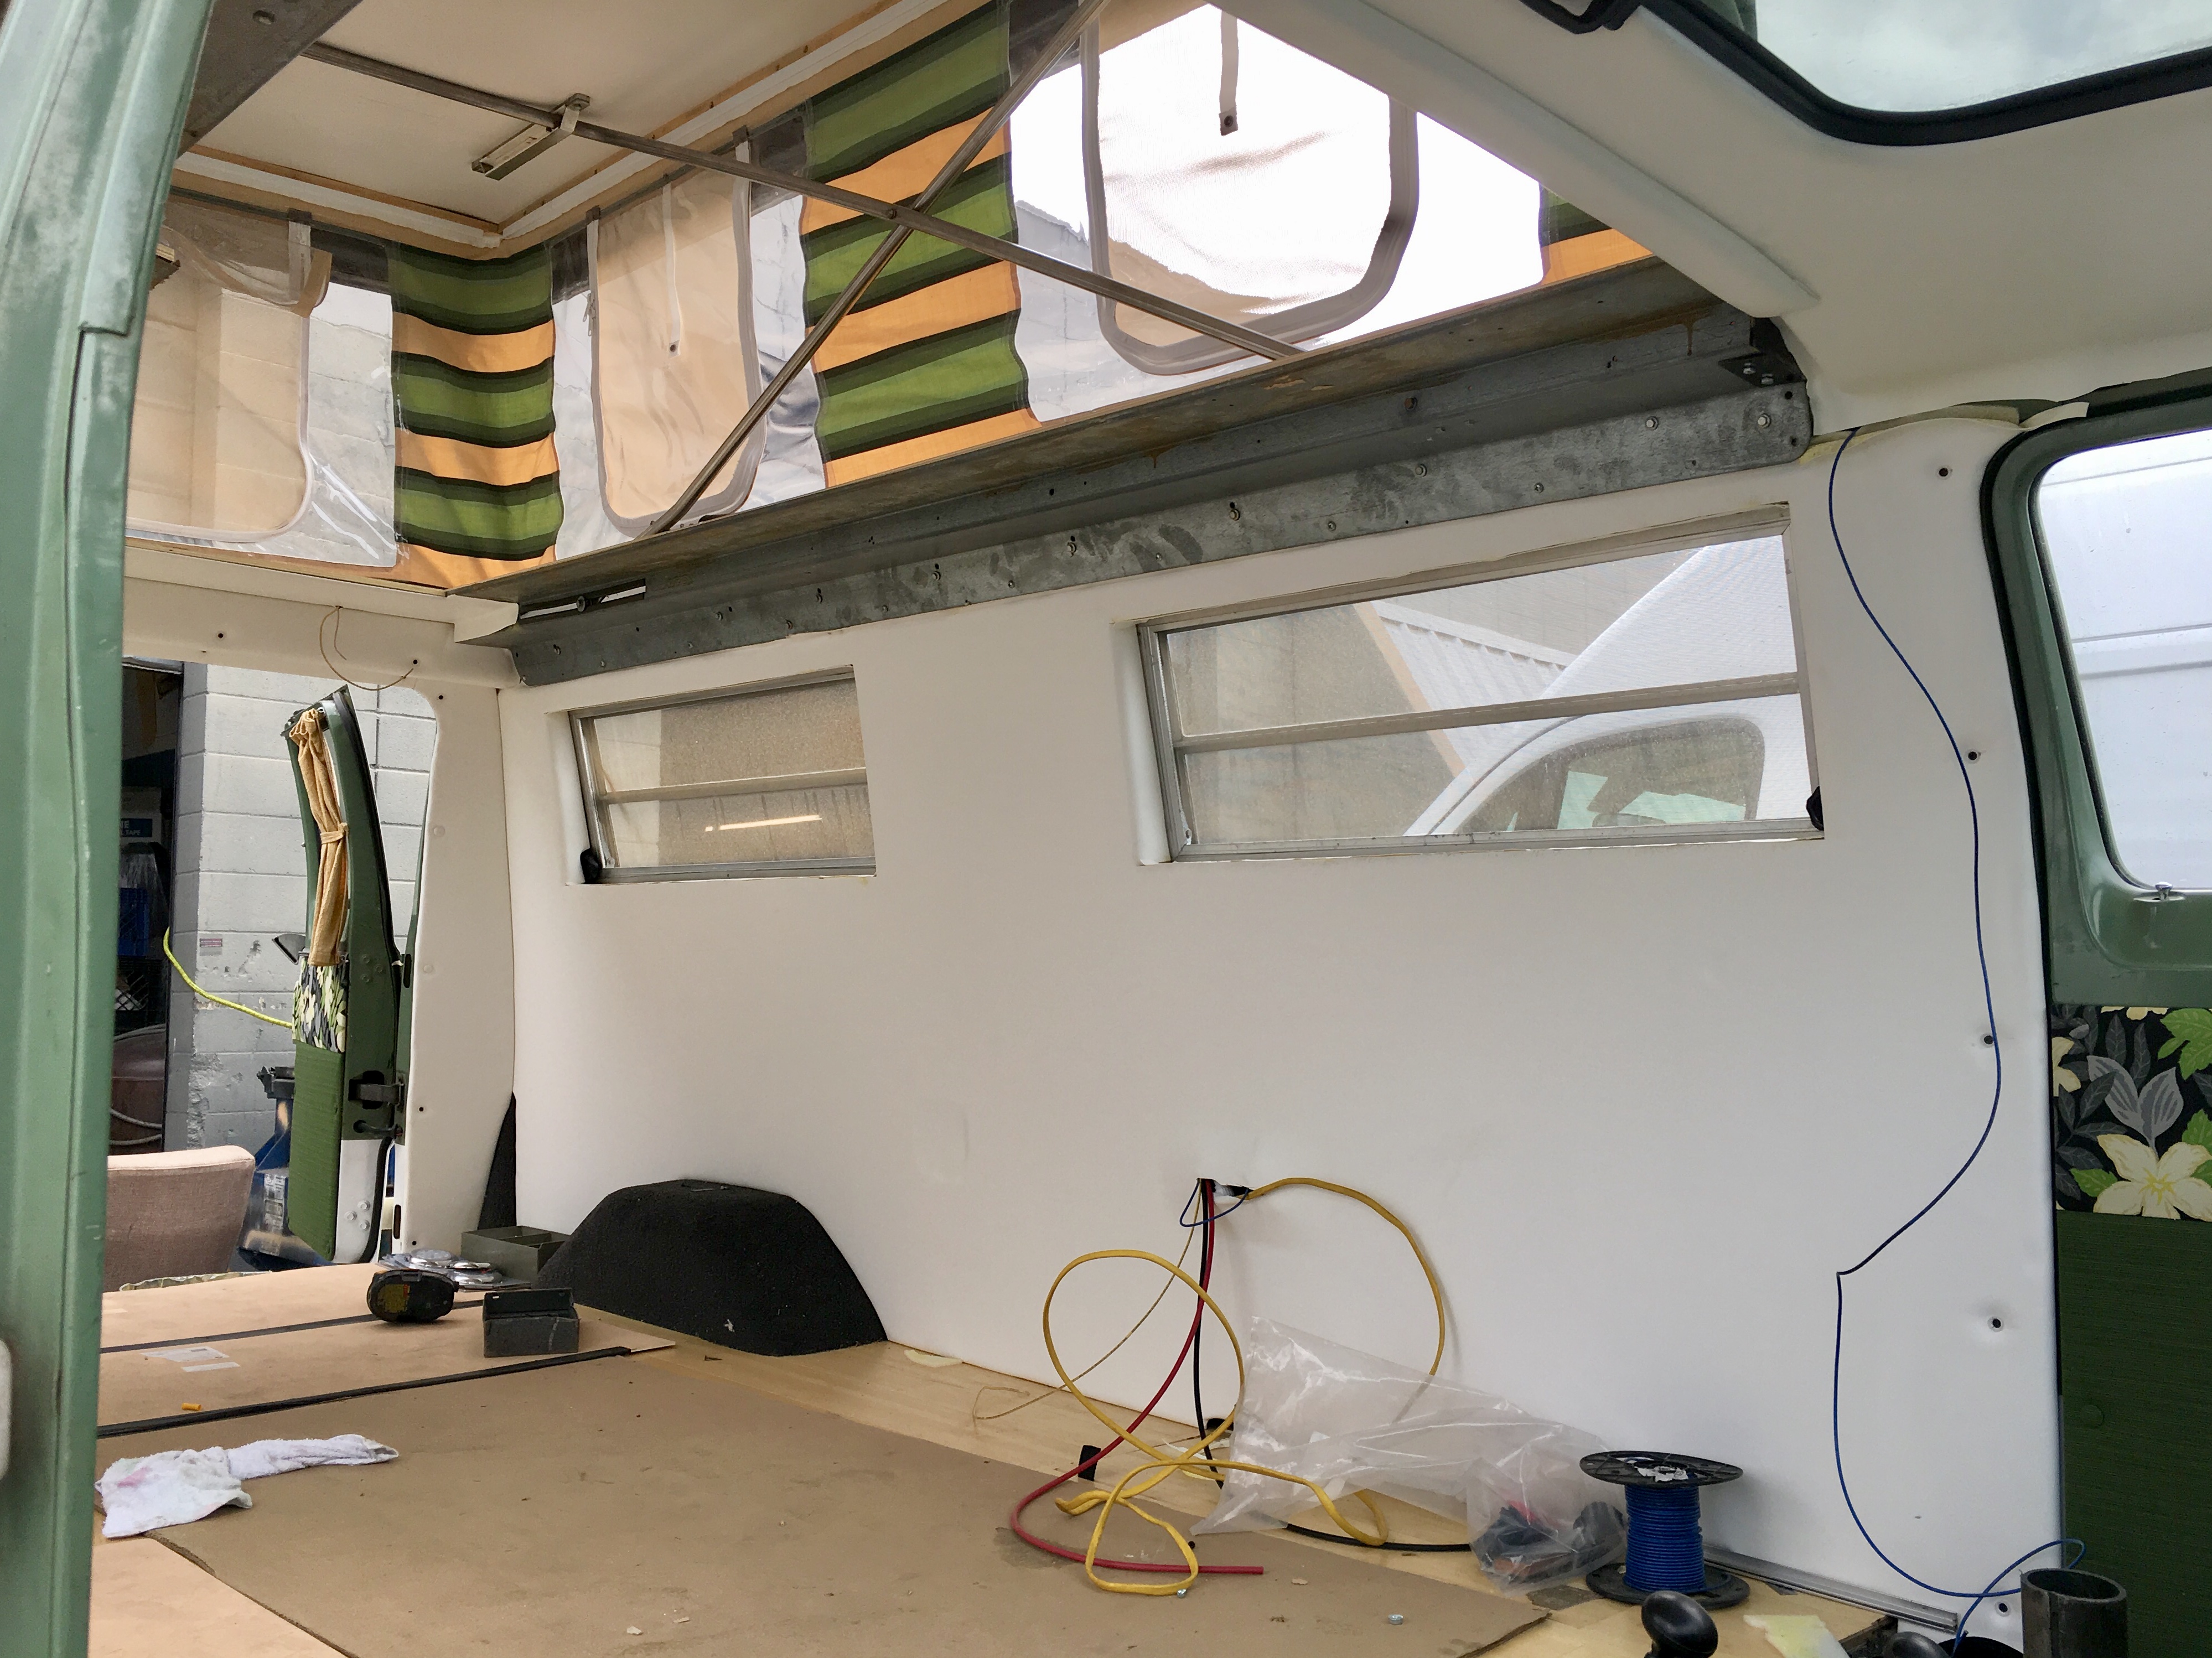
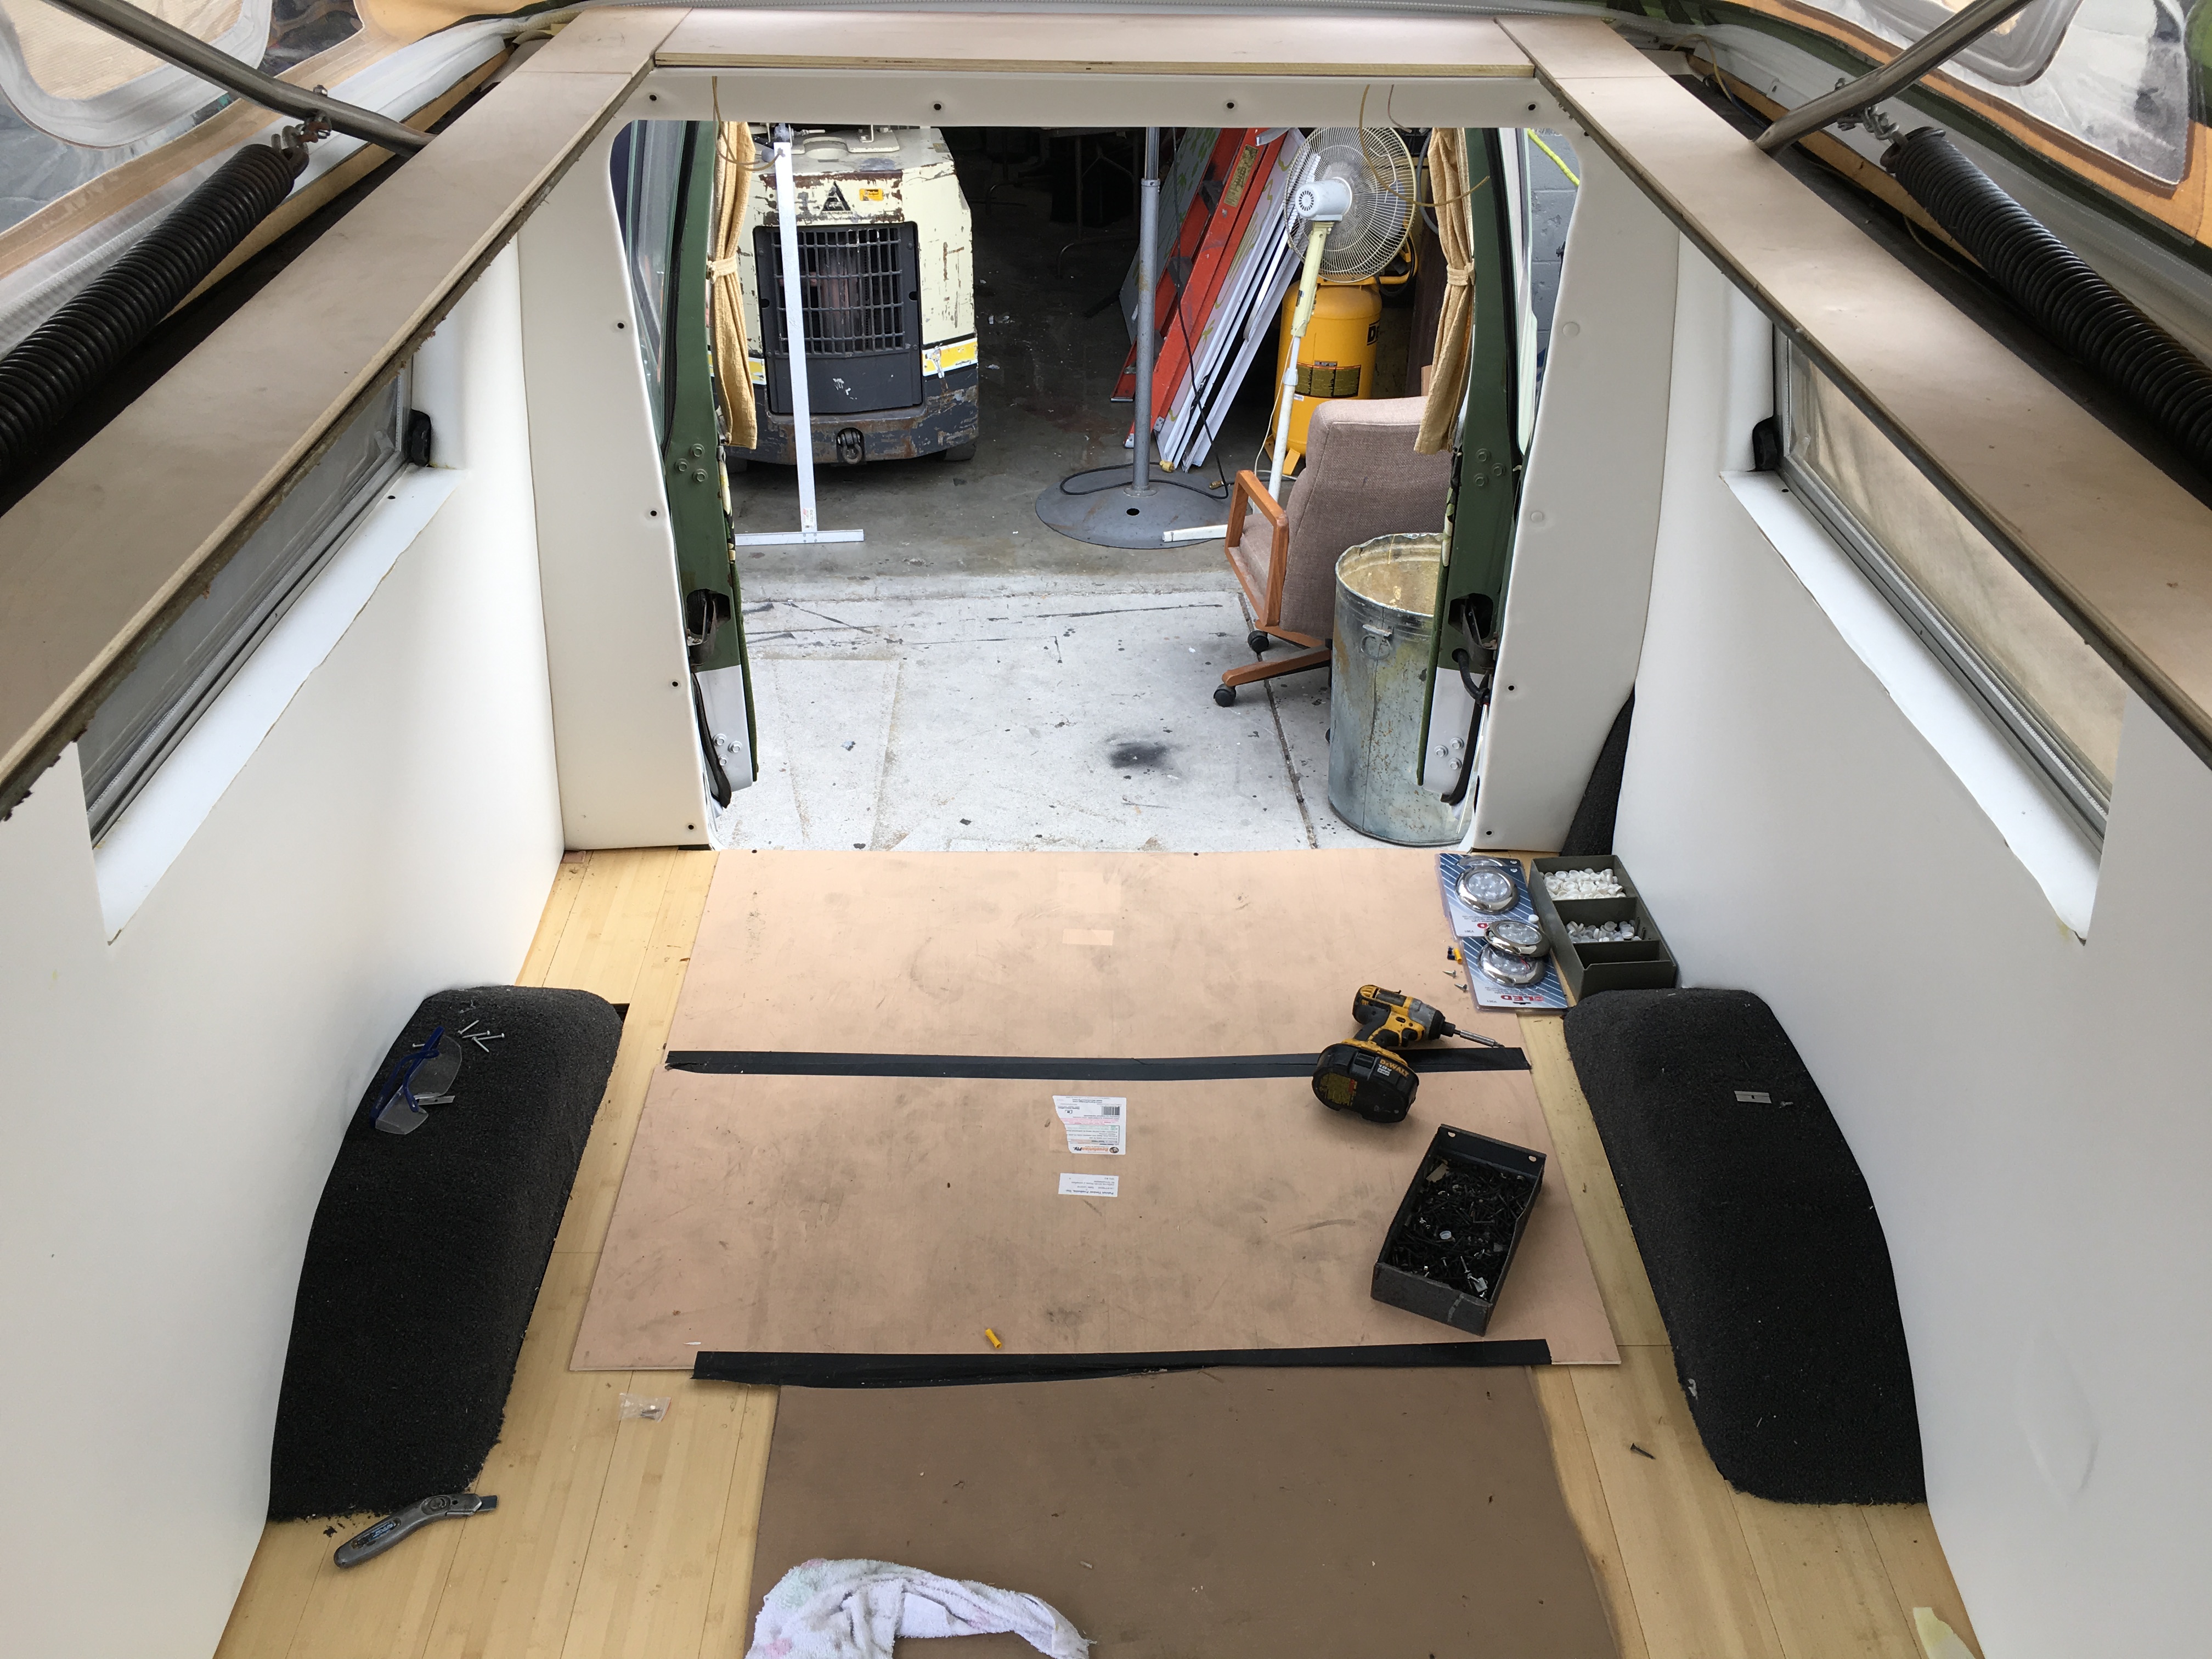
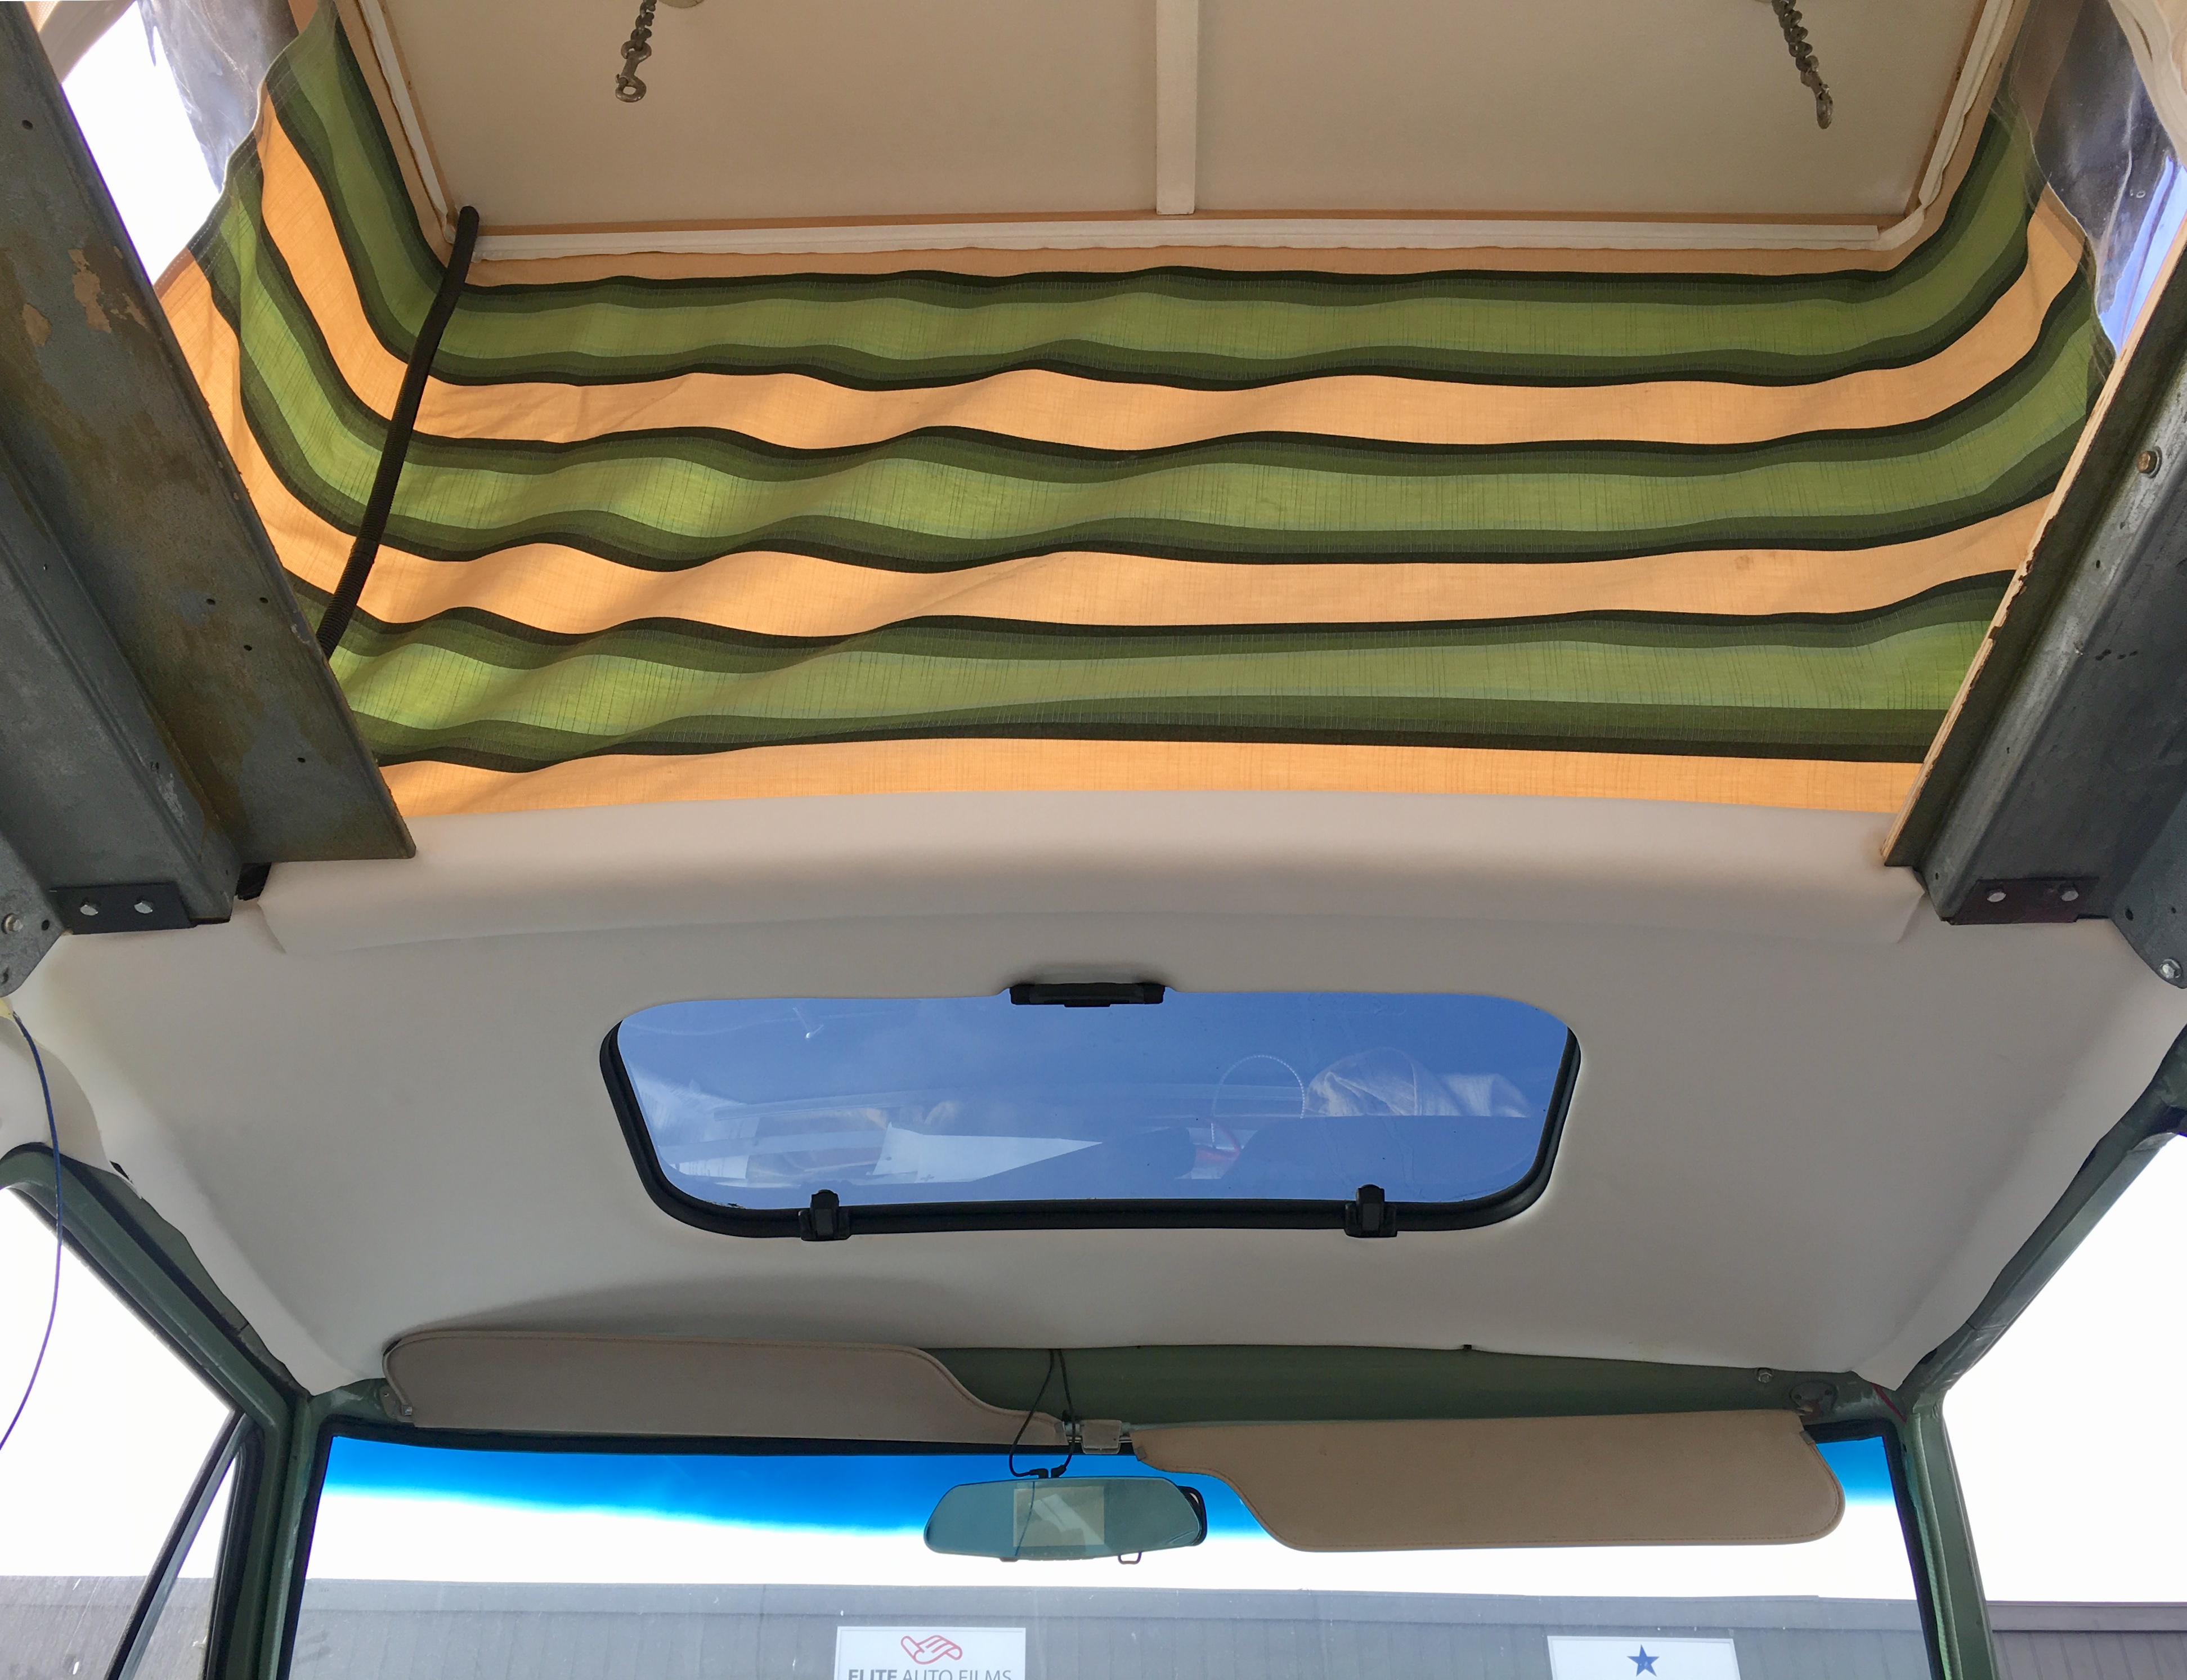
I went with white vinyl for the walls after seeing how good it looked on the pop top ceiling. There will be a lot of patterns and colors on the interior so the white keeps it open and clean. After living in the CandyVan for months, I am not concerned with walls getting marked up or dirty. For the floor, I went with a light bamboo in the rear and dark green carpet up front. The carpet should help with noise up front and the bamboo will work great with the darker Koa cabinets to keep the Hawaii theme going. I also installed a sunroof above the driver and passenger seats as a throwback to the style of the 70s vans and provide some airflow while driving.
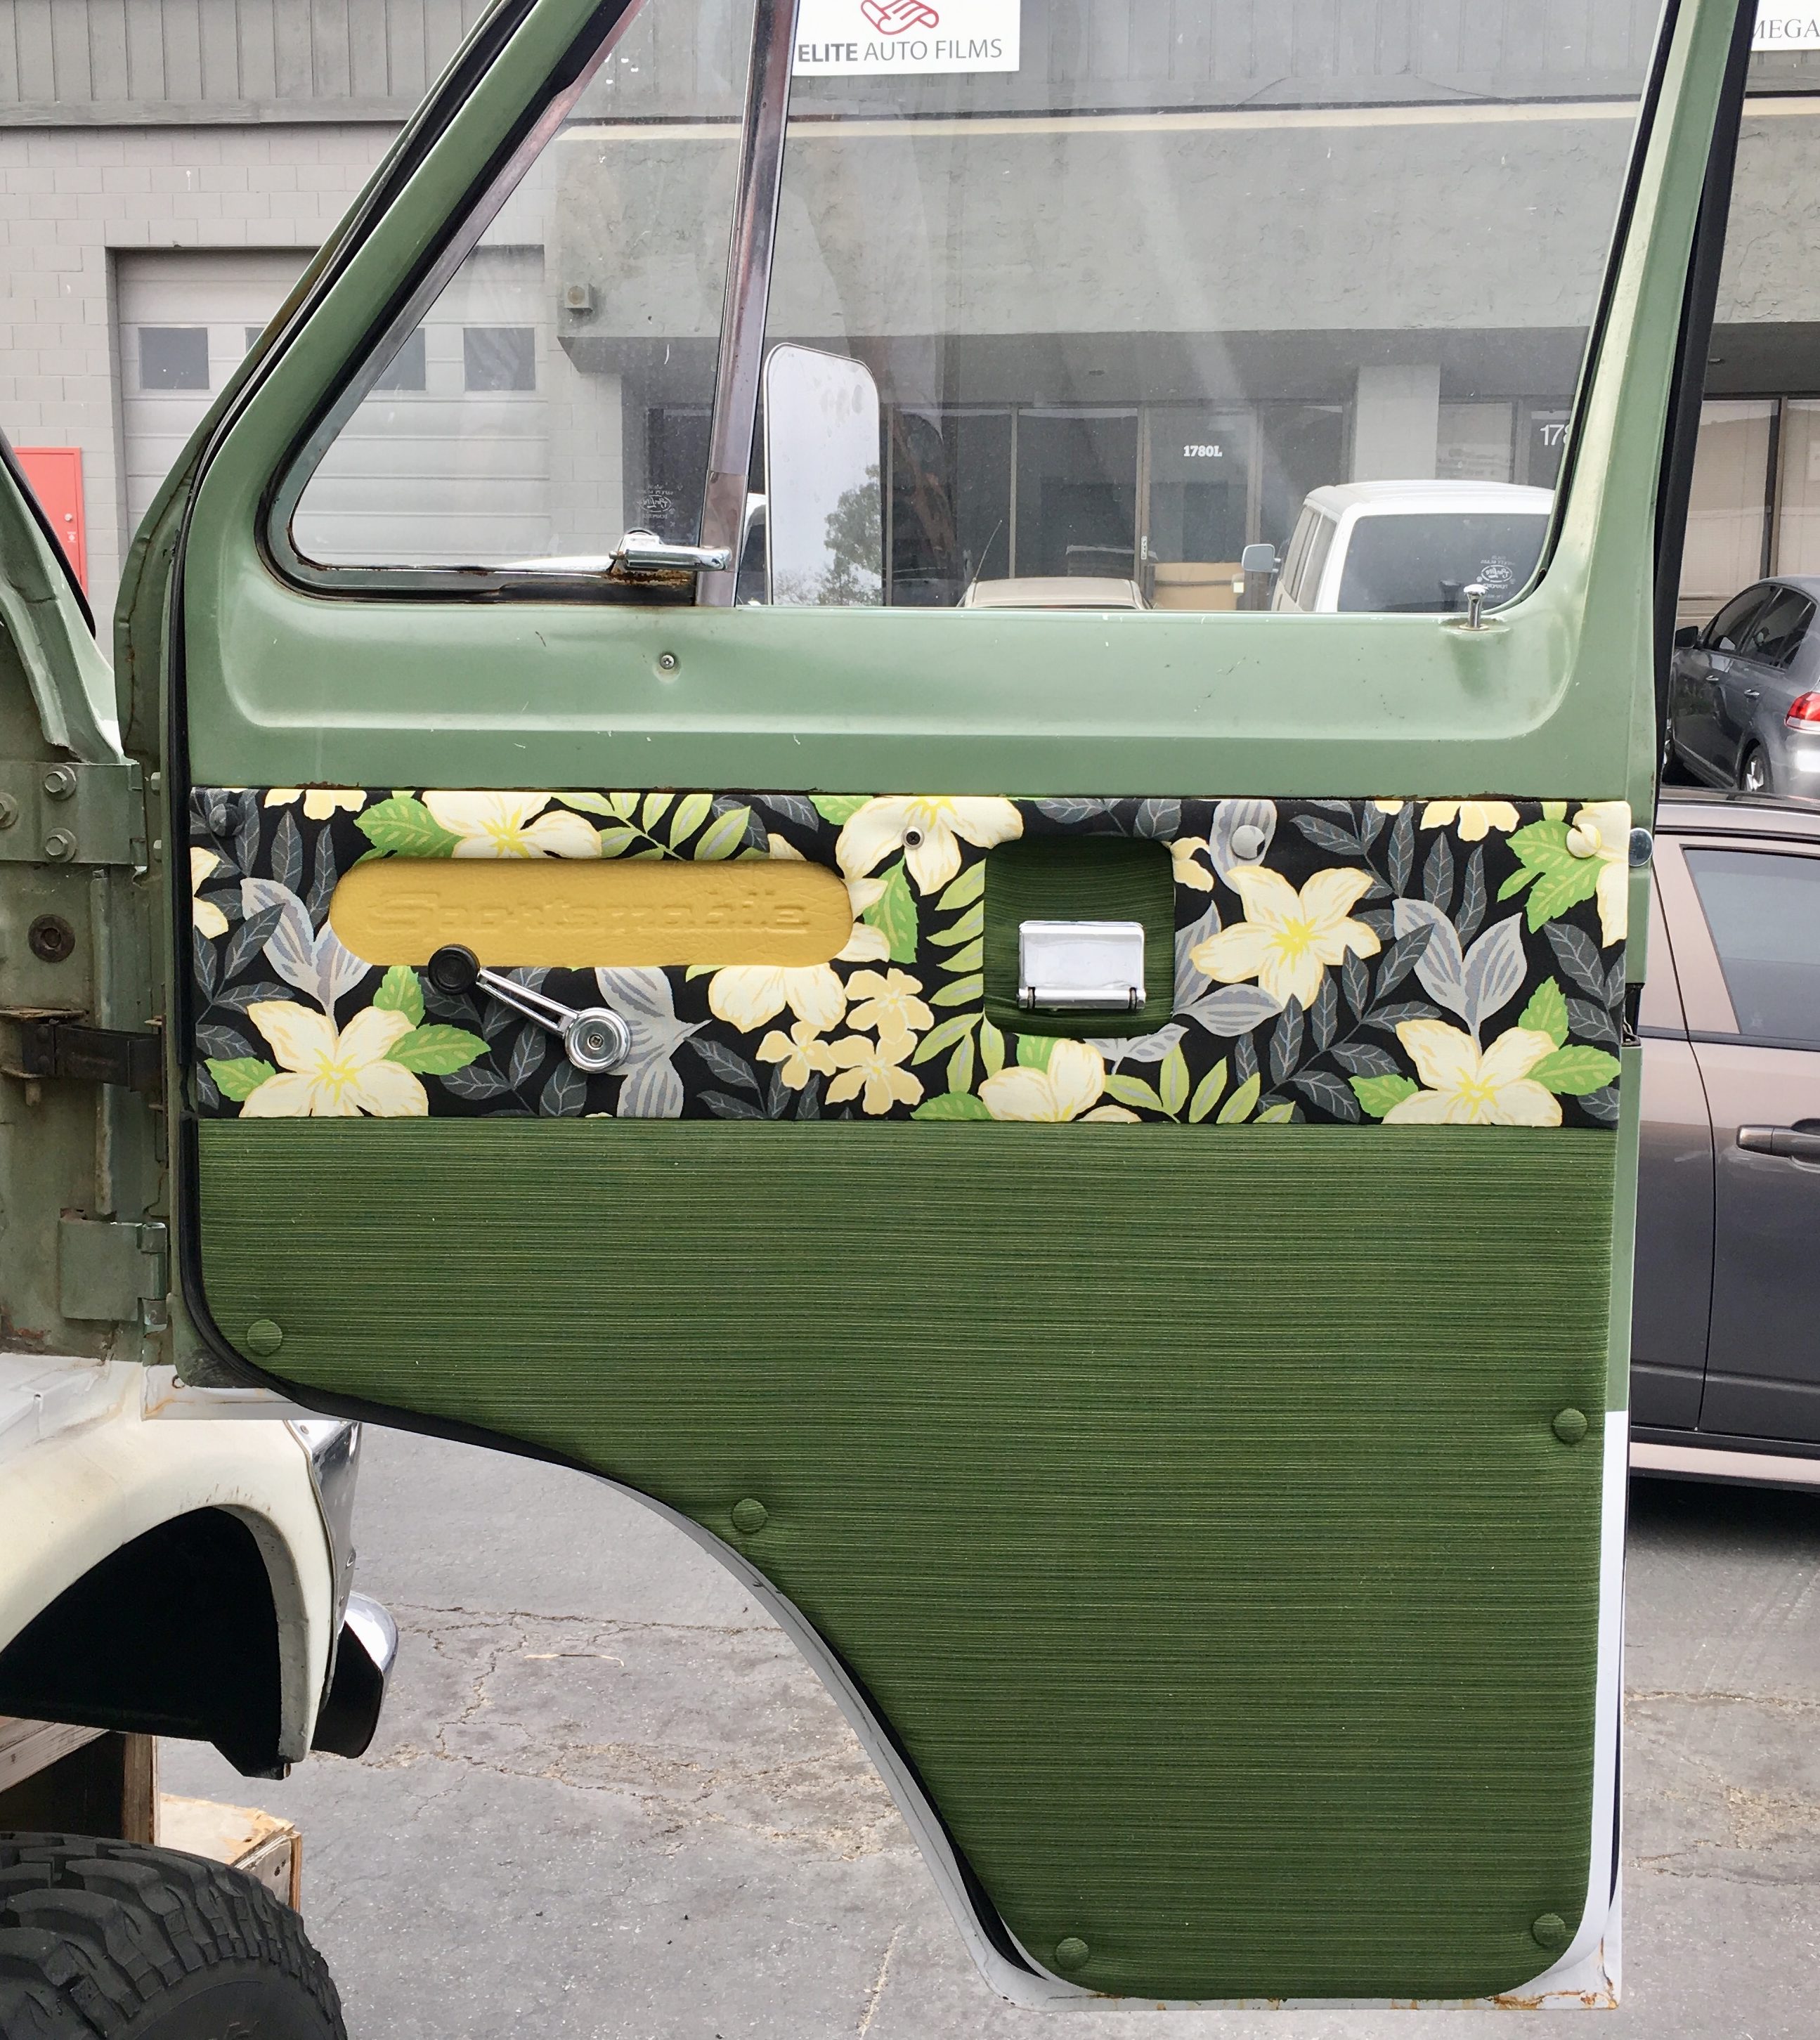
Seeing the door panels installed for the first time got me really excited since they are the first piece of the interior truly “complete” and give a glimpse into how awesome the final vision will be. The interior fabric choices for the seats work well throughout the rest of the van, including the door panels. For the front doors, we kept a section from the originals that had been embossed with the “Sportsmobile” logo in yellow vinyl. Keeping this detail is a nod to the original design and matches the new design perfectly. I love it.
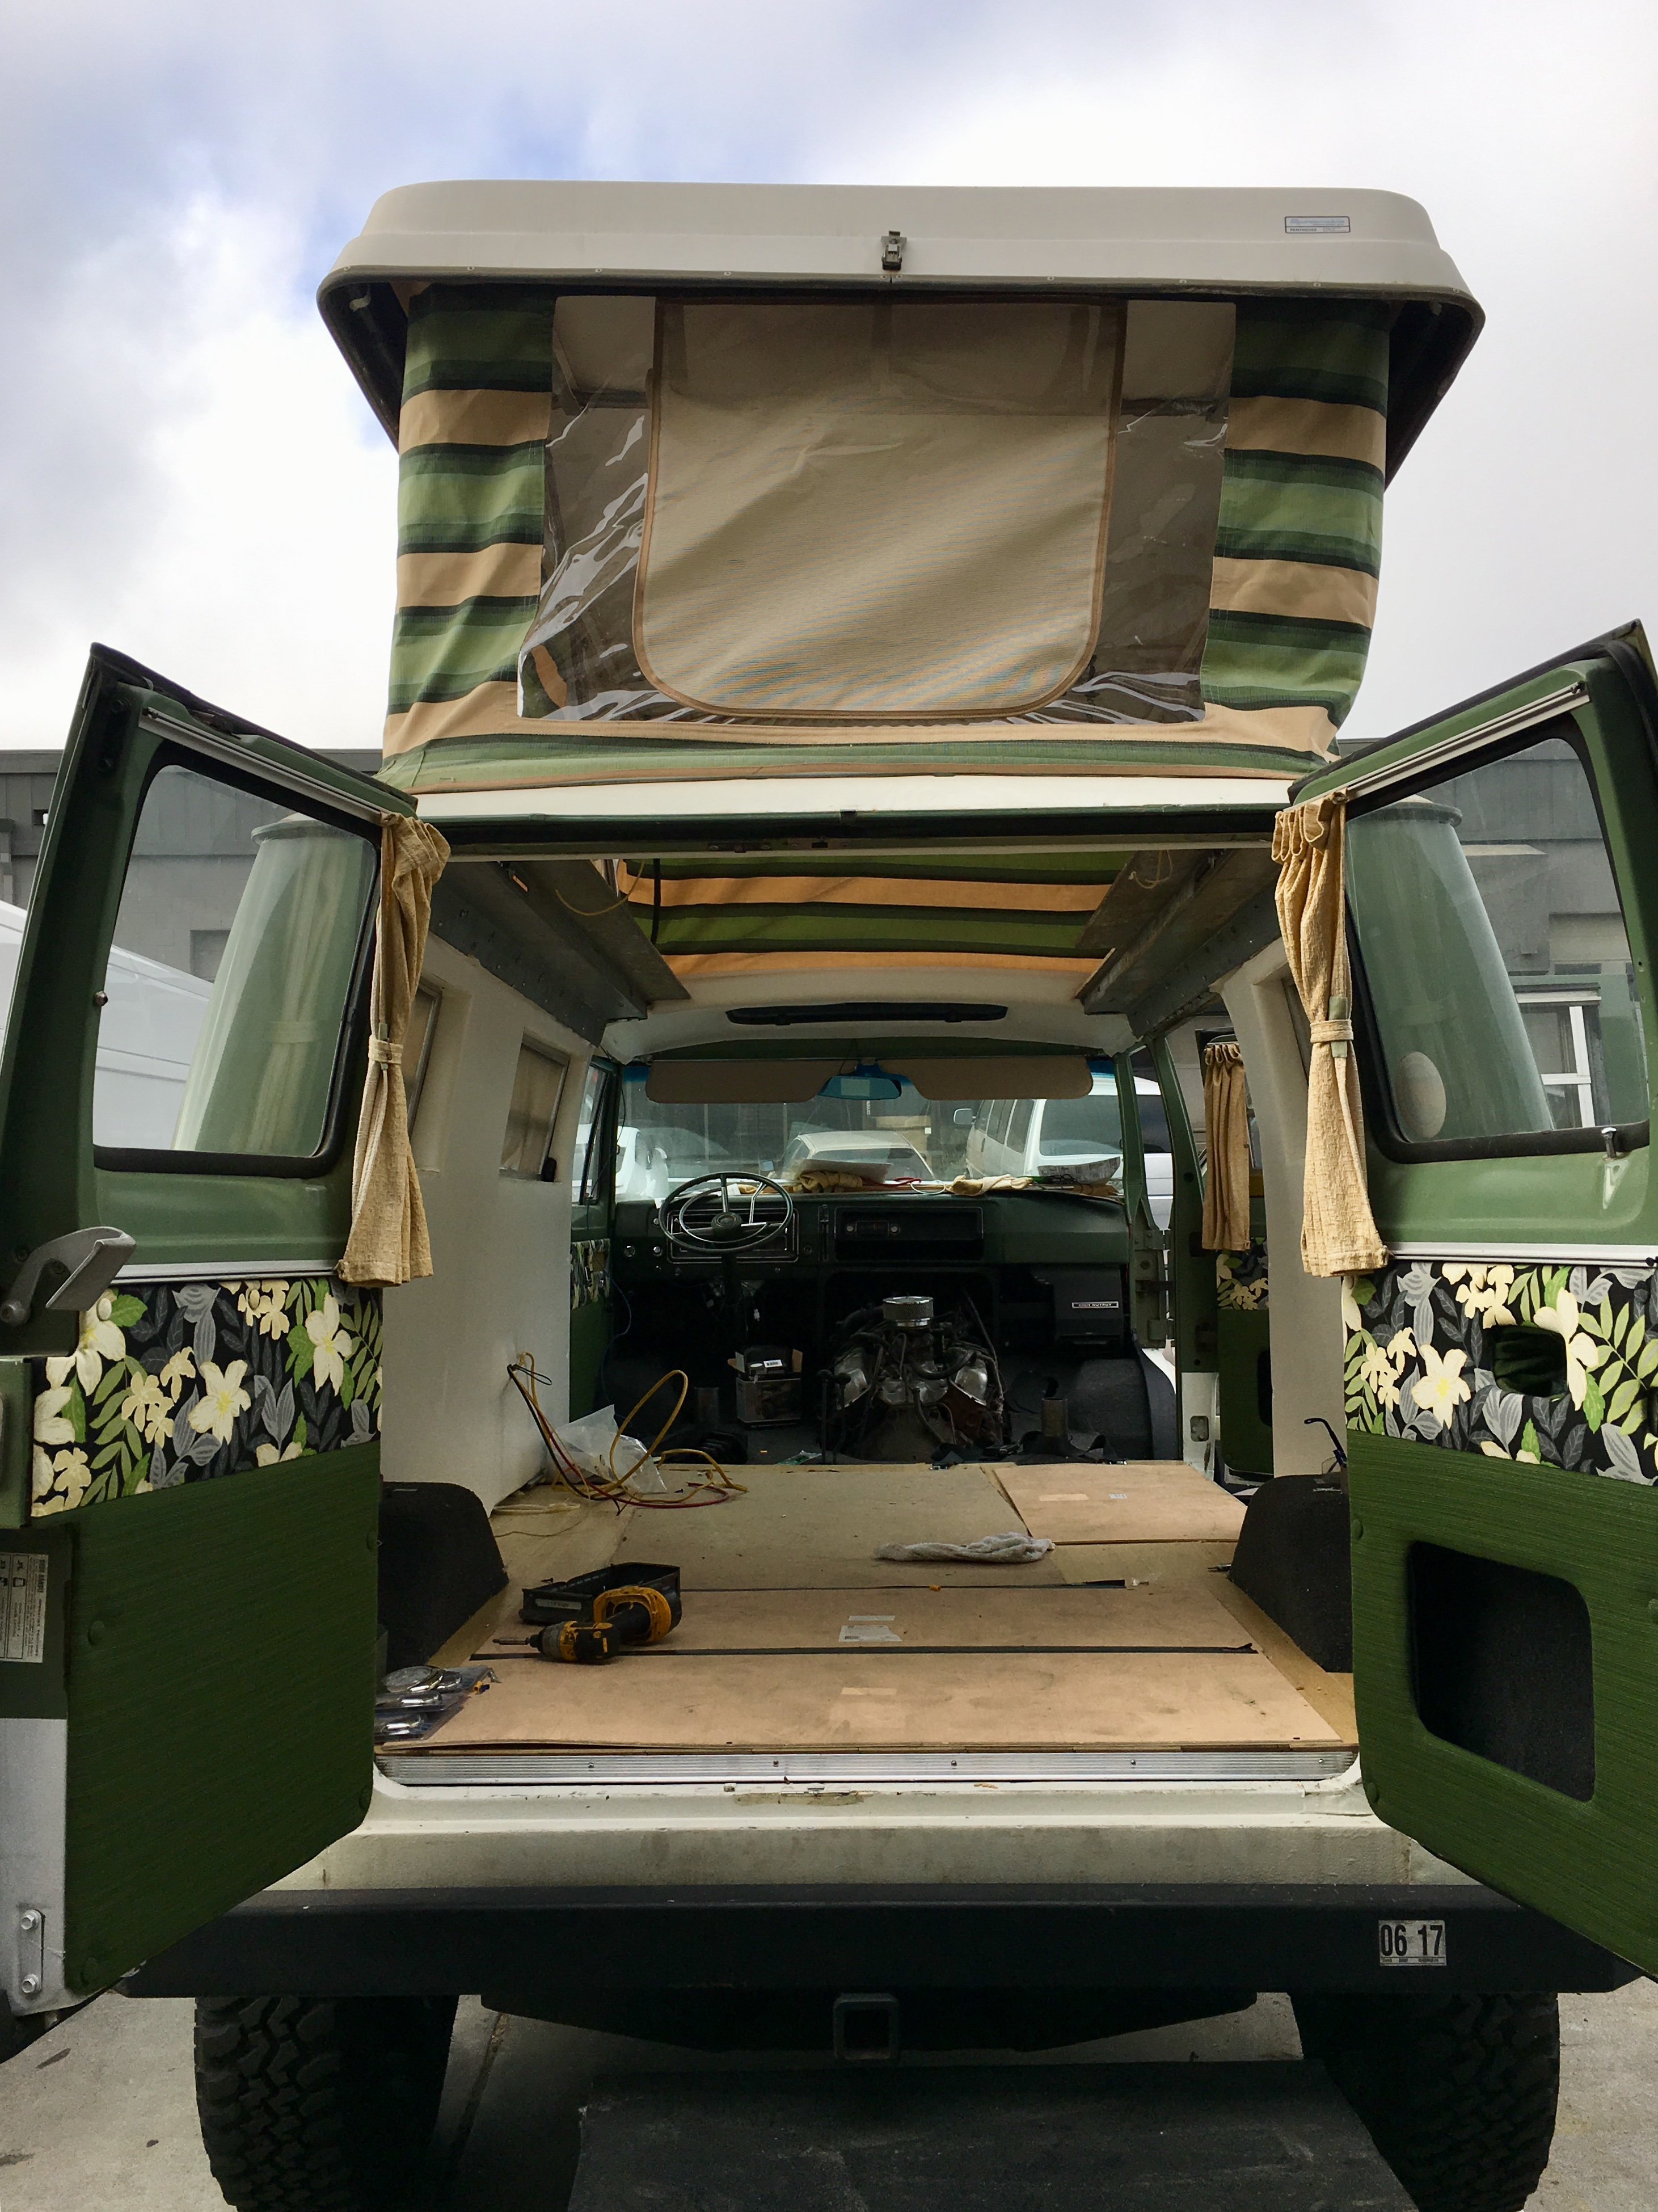
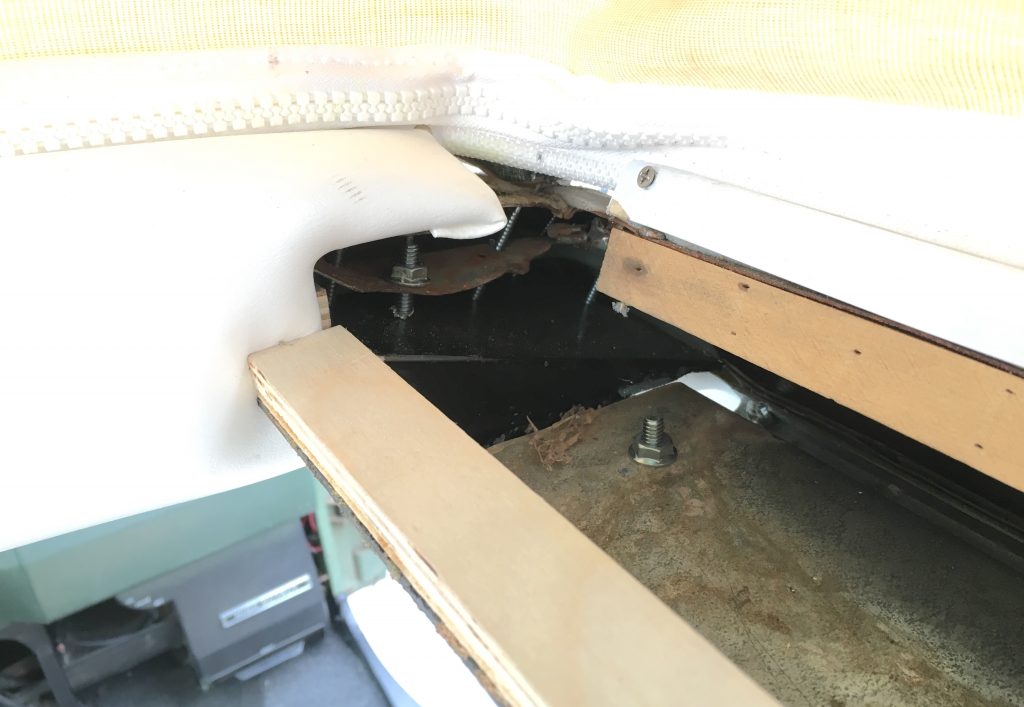
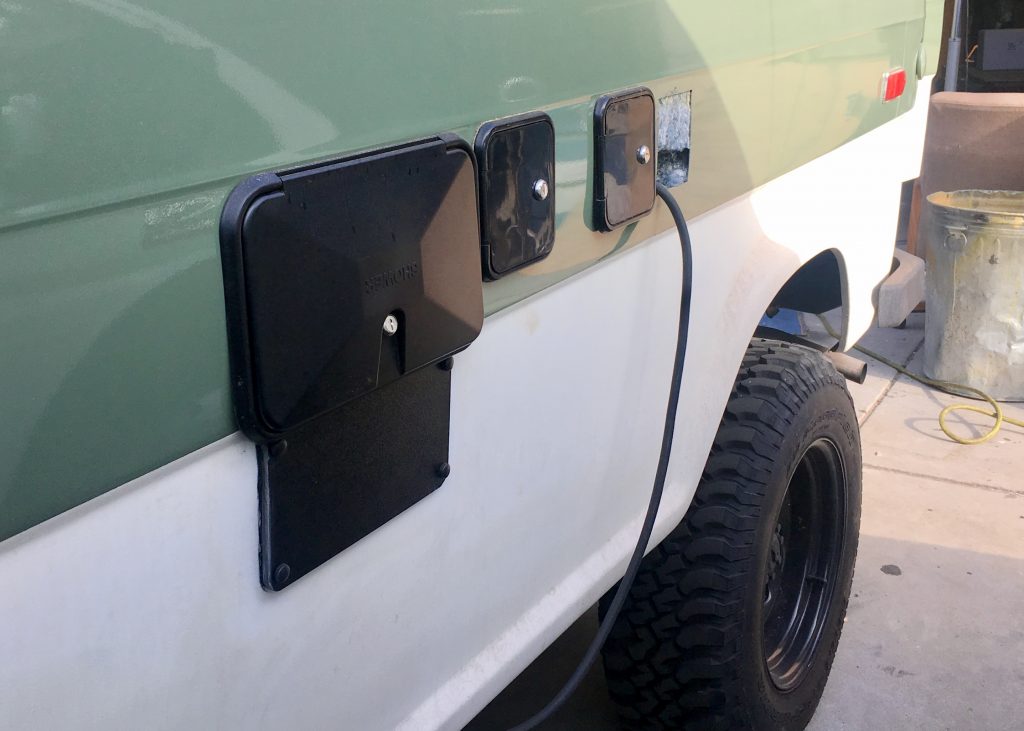
A few other small details to point out. While disassembling the interior we found the top was very poorly supported, especially at the front, and was actually causing issues the pop top. Gary spent time reinforcing the top support structure with new bolts along the full length and custom brackets at the front to secure the top rails to the front roof. I prefer sleeping up top rather than below, so having something strong and secure is obviously important. Additionally, all the exterior holes have been taken care of with lockable doors for power and water hookups, along with an outdoor shower installed to a custom panel to cover up the radiator hole. I love the process of thinking through each area and optimizing for the future adventures I can’t wait to have!