808Build: The Interior is Complete!
If you were wondering, the 80/20 rule also applies to vans. It seemed like the van was “almost done” for several months, but each time I stopped by to check on progress, we came up with some more cool ideas to sneak in! When I finally picked it up at the end of January, it was well worth the wait! The last 20% of the build took some time to get right, including the 50’s trim around the countertop, and the installation of the bluetooth LEDs – but more on those later. Time to share the result of 5 months of hard work!
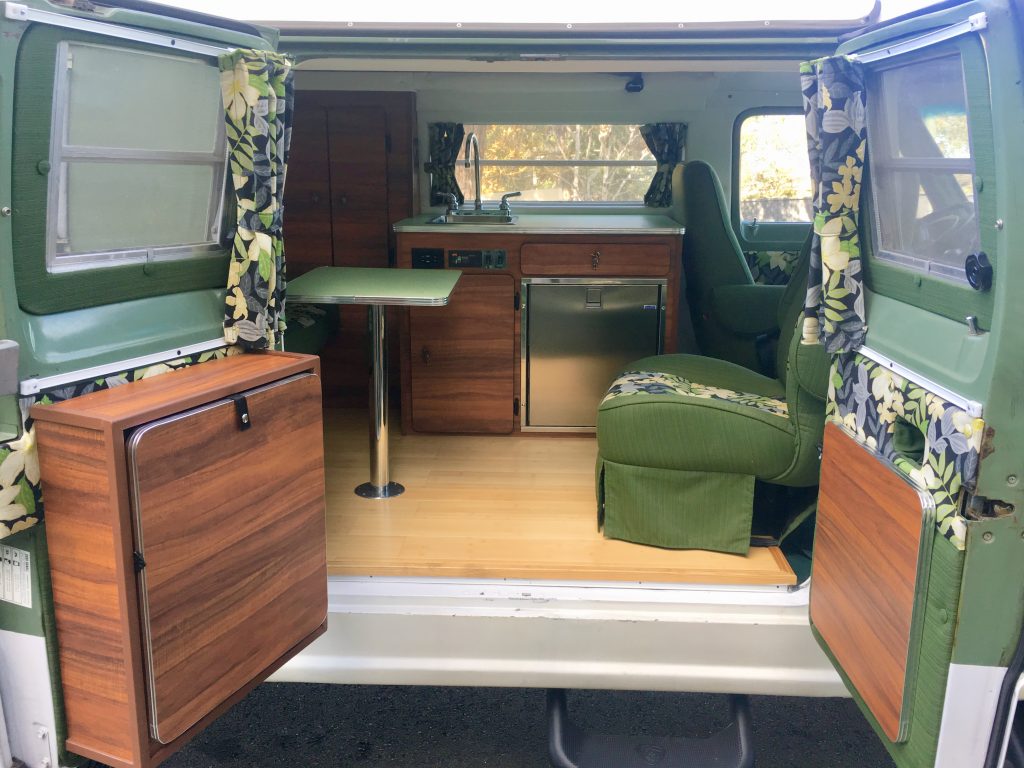
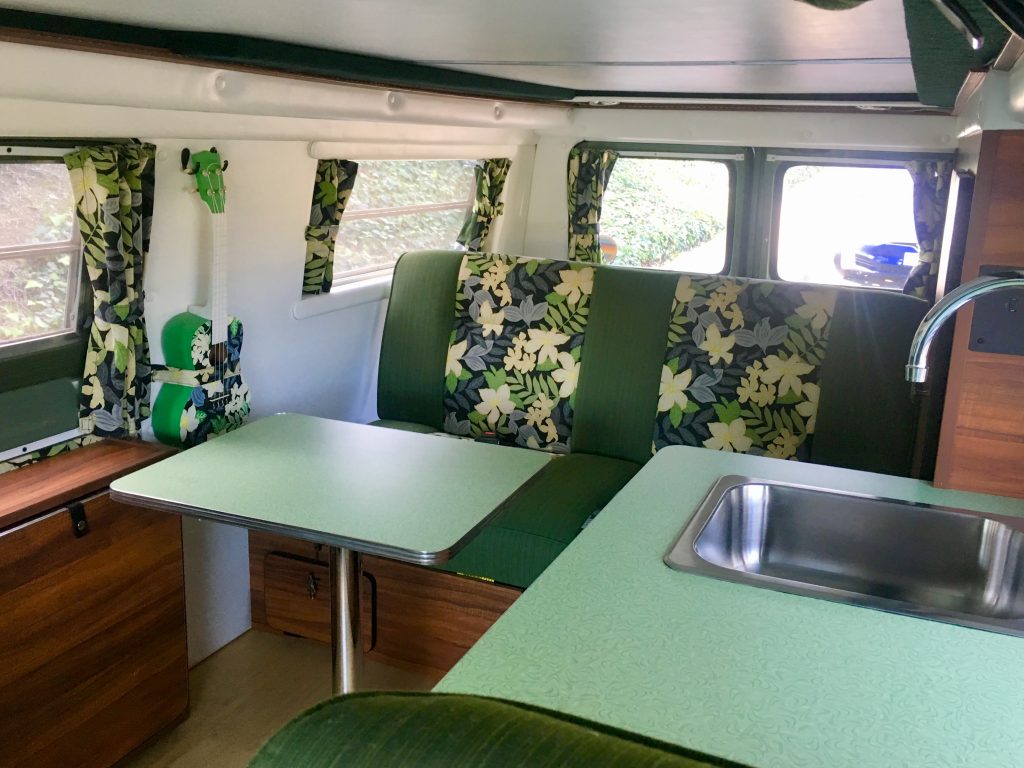
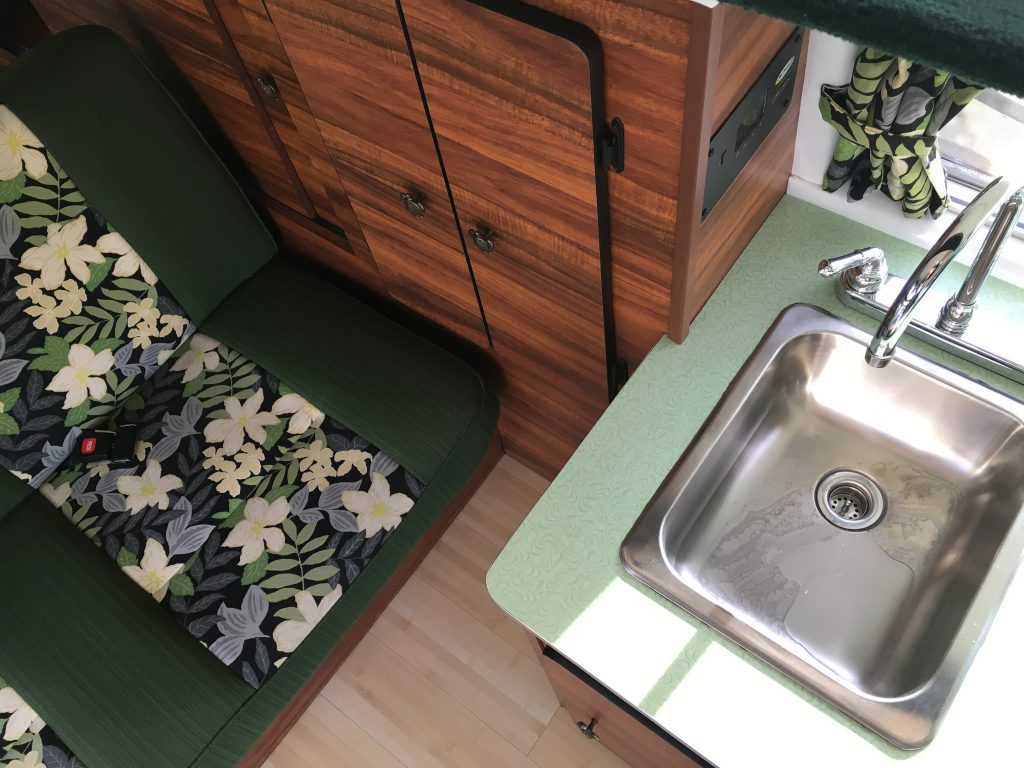
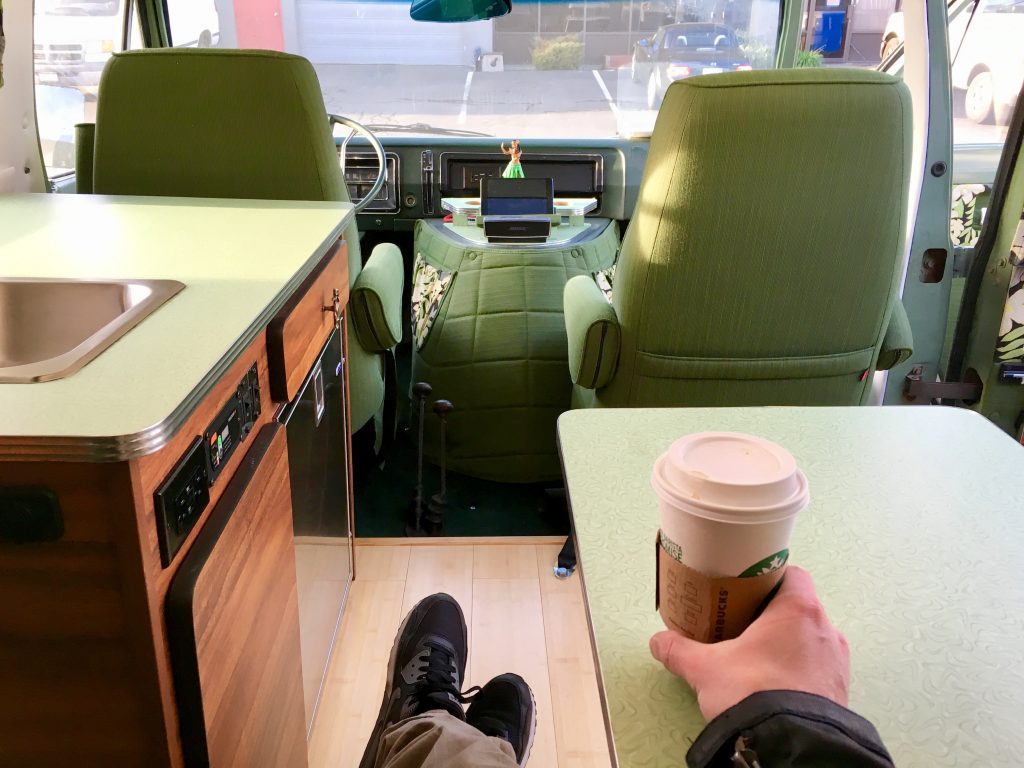
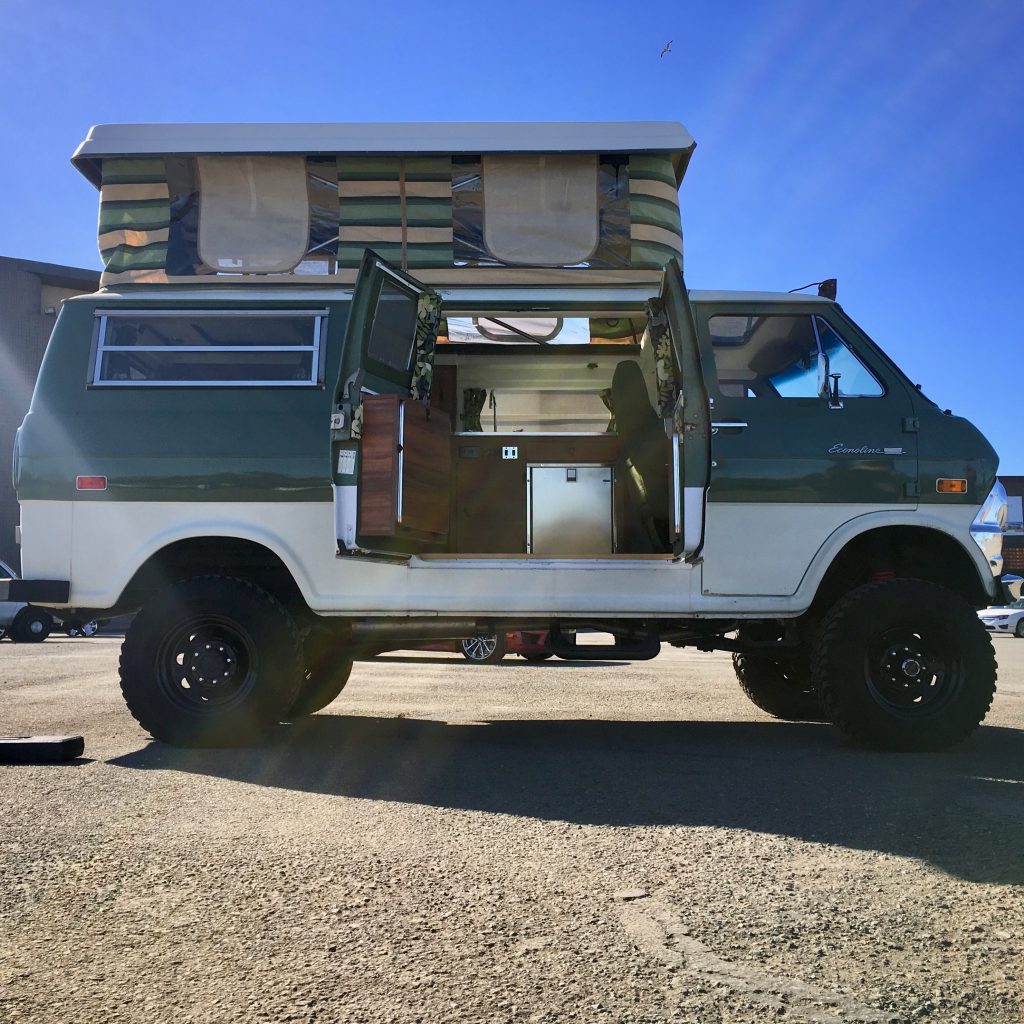
The 808Van delivers on its retro Hawaiian vibes. The bamboo floor works great with the Koa wood cabinets, and the floral Kona Ash fabric adds the perfect amount of fun. Even the modern fridge does not look out of place matching the aluminum trim and sink. Side note: the Isotherm refrigerator is insanely quiet and is almost inaudible! Every inch of the interior was optimized for style and function. Having built and lived in the CandyVan for several months, I had things pretty well dialed in for the 808.
We added a removable table at the last moment which will be nice for hanging out. The retro boomerang countertops and authentic 50’s aluminum trim came out even better than I thought and somehow help to tie everything together. Gary also came through with a slick mount for the custom-painted ukulele.
I was worried that there would be too much going on in the interior with all the different textures and finishes, but the white vinyl walls help to keep everything light and clean. The end result is the perfect amount of flair and fun without being gaudy. Even the honu and hula cabinet pulls blend in while at the same time drawing smiles from everyone. I love it.
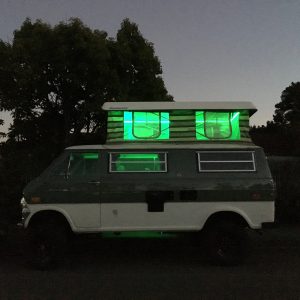
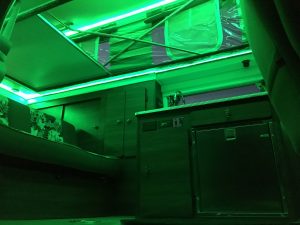
As cool as the interior looks during the day, things get even cooler at night! The installation of the bluetooth LED lights added some serious scope-creep towards the end of the build. Instead of just around the bottom of the van we also decided to add a second light system around the top of the penthouse. Both lights are on their own circuits but can be controlled together via my phone. Additionally, instead of just attaching the lights to the walls, we added new trim to hide the LED strips and create an ambient glow. Although it was a lot of extra work I think the end result was absolutely worth it. Its awesome to be able to dial in the color and brightness of the lights, but by far the best feature is being able to climb into bed and shut the lights off from inside your cozy sleeping bag.
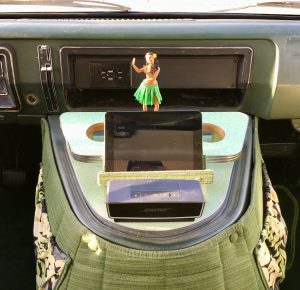
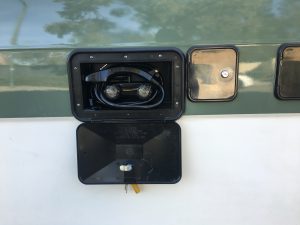
A couple of other cool areas to point out. The 808Van would not be complete without a dashboard hula girl who now resides on the custom-made doghouse tray. I didn’t install a stereo in the van as it was not even used in the CandyVan. I opted instead just to go with a Bose bluetooth speaker with a mini-iPad. This combo has worked great so far and provides enough tunes while keeping things portable after you get to your campsite. The doghouse was also insulated with a custom cover that dramatically reduces the noise and heat coming into the cabin. The van drives like a completely new rig thanks to all the insulation and sound deadening added during the build. Moving to the outside of the van, the large hole left over by the old radiator was replaced with an outdoor shower. I can’t wait to use this as I think it will come in really handy to wash off outside the van.
I couldn’t be happier with the end product and I can’t wait for the spring to start adventuring! I want to thank the Team at Personalized Vans for delivering another amazing build. I’ve said it once and I’ll say it again: when your guy has a mural of other vans on his van, you are at the right place. Thank you Gary, Al, and Aniceto for putting up with my crazy ideas and helping bring them to life. The build quality and attention to detail is even better than these pictures do justice. Time for the 808Van to Spread the Aloha!

2 Replies to “808Build: The Interior is Complete!”
Absolutely beautiful build. Can’t wait to tour!
You really did a nice job with it. It is inspiring to see this done, and now I want to go work on mine!