The CANDYVAN Build
I knew I wanted to make some interior improvements to the CNDYVAN, and being the middle of winter I decided to start on the build to be ready for this summer’s adventures. I thought about doing the work myself, but I knew that my fit and finish would not be perfect, and I did not have appropriate shop space for the work. It is searching for a shop that I met Gary Miller from Personalized Vans & Trucks. Gary has decades of experience building custom vans and it was immediately clear he was the right man for the job. His personal van has a mural of other custom vans.
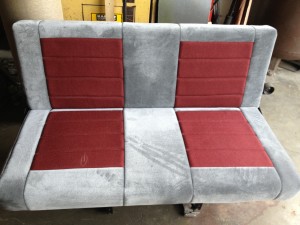
After much debating on the interior layout, I decided on a plan similar to Sportsmobile’s own RB50. This enabled me to maximize interior “living” space as well as storage. I could also reuse the bench seat I already had. After a few weeks of consideration, the rest of the build came together:
- 1800W inverter with extra battery for 110V
- 6 gallon freshwater tank and sink
- Refrigerator
- New front seats w/ custom upholstery
- 2000W stereo system w/ 13 speakers
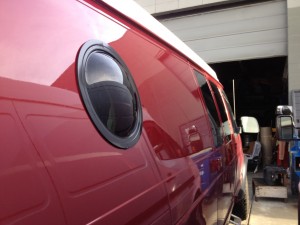
- Vintage bubble windows
- Custom lighting
- Rear underfloor storage
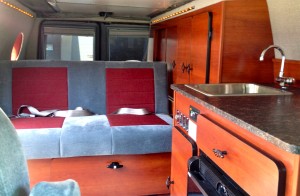
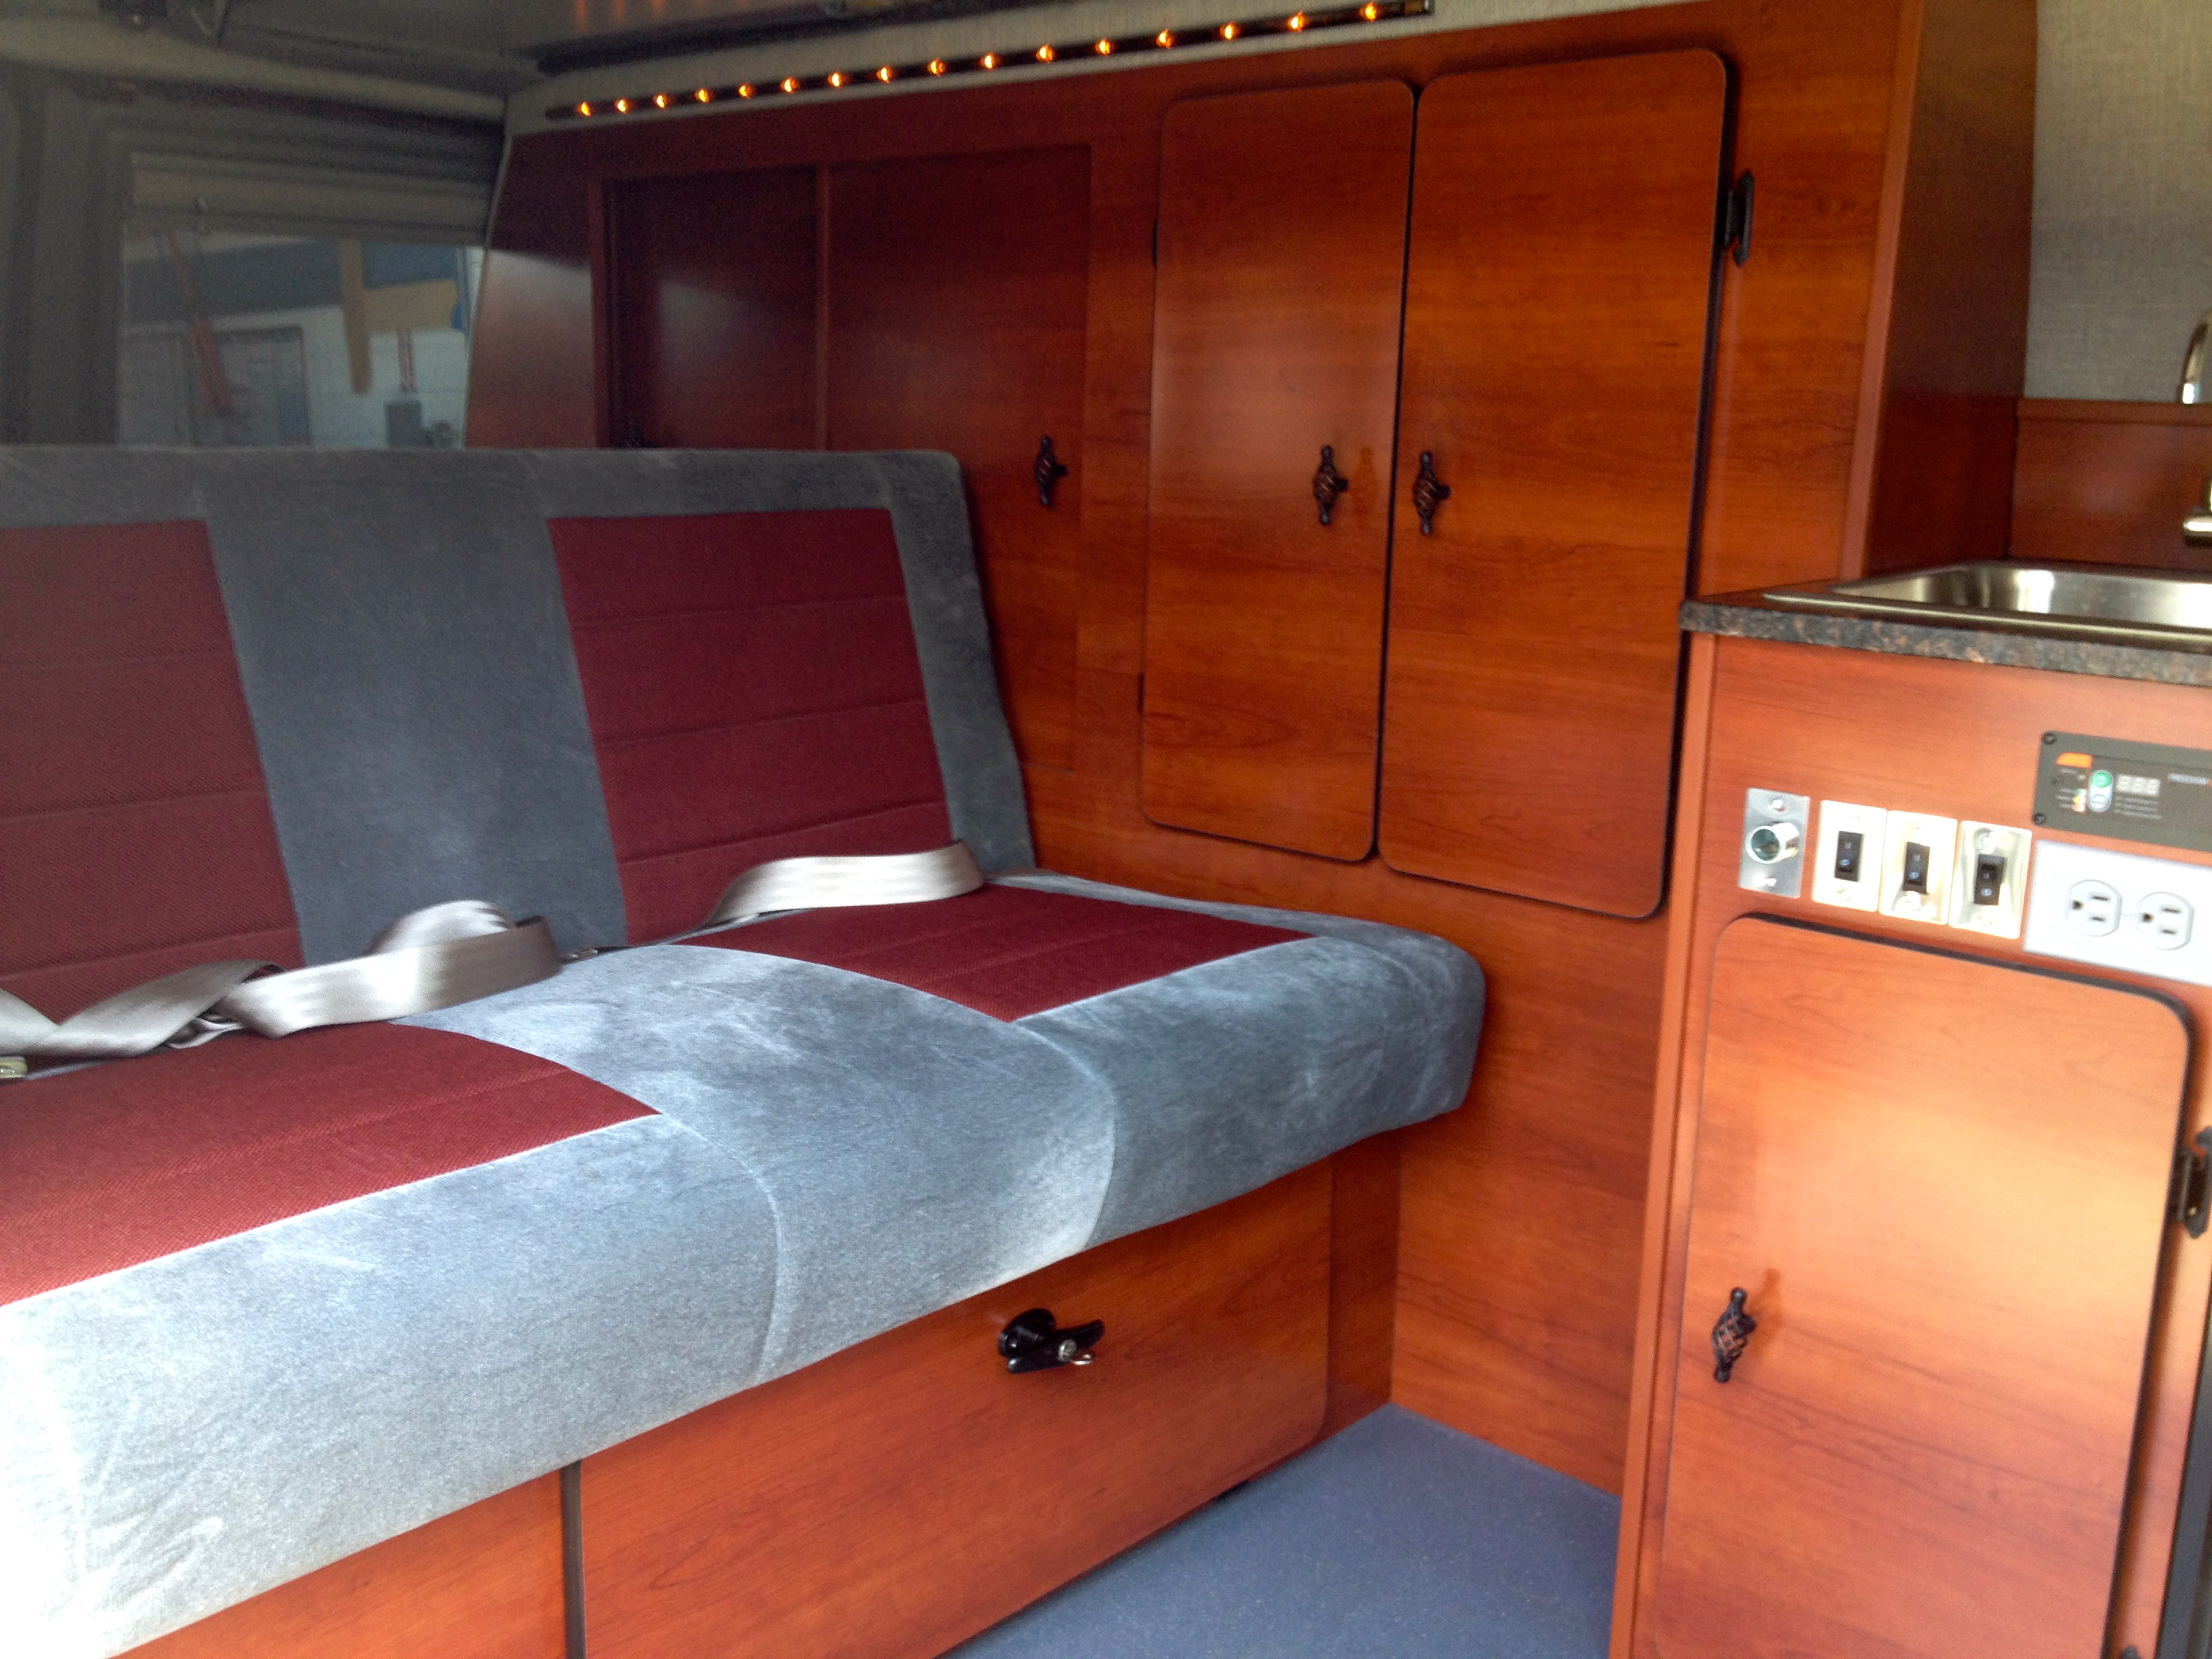
- Cherry cabinets w/ marble countertop
- New carpet, floor, and wall coverings
- Door bar
I did not care to have a stove or furnace, which eliminated the need for onboard propane, but I did want the van to be over-the-top in certain aspects. I get enough jokes about “living in a van” that I wanted it to really impress people. The end result is a van rugged enough to live out of, but refined enough to sit in the back sipping champagne in a suit – both of which I have done.
Week 1
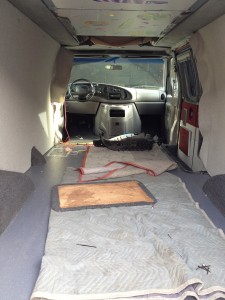
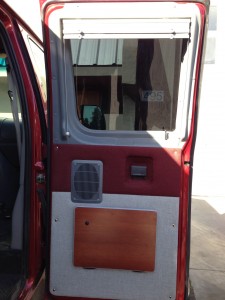
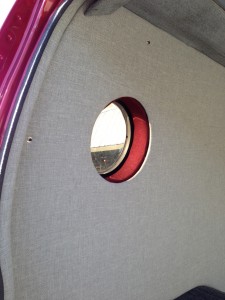
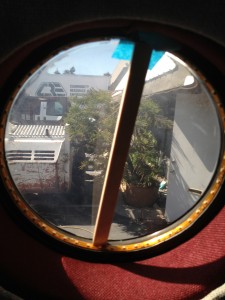
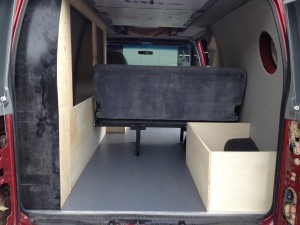
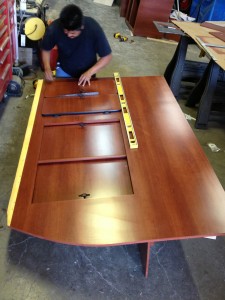
Within a week he had the van interior stripped and new flooring and walls installed. It took a while to choose the final materials and colors to make sure they would all work together. The walls are a durable cloth while the floor is an easily washed vinyl. Gray tones will be accented by red as well as the wood cabinets. Gary loves his work, and it is small details like the red accent around the porthole window where his attention to detail really stands out. I was excited to see how the cherry would work with the red and gray on the finished door.
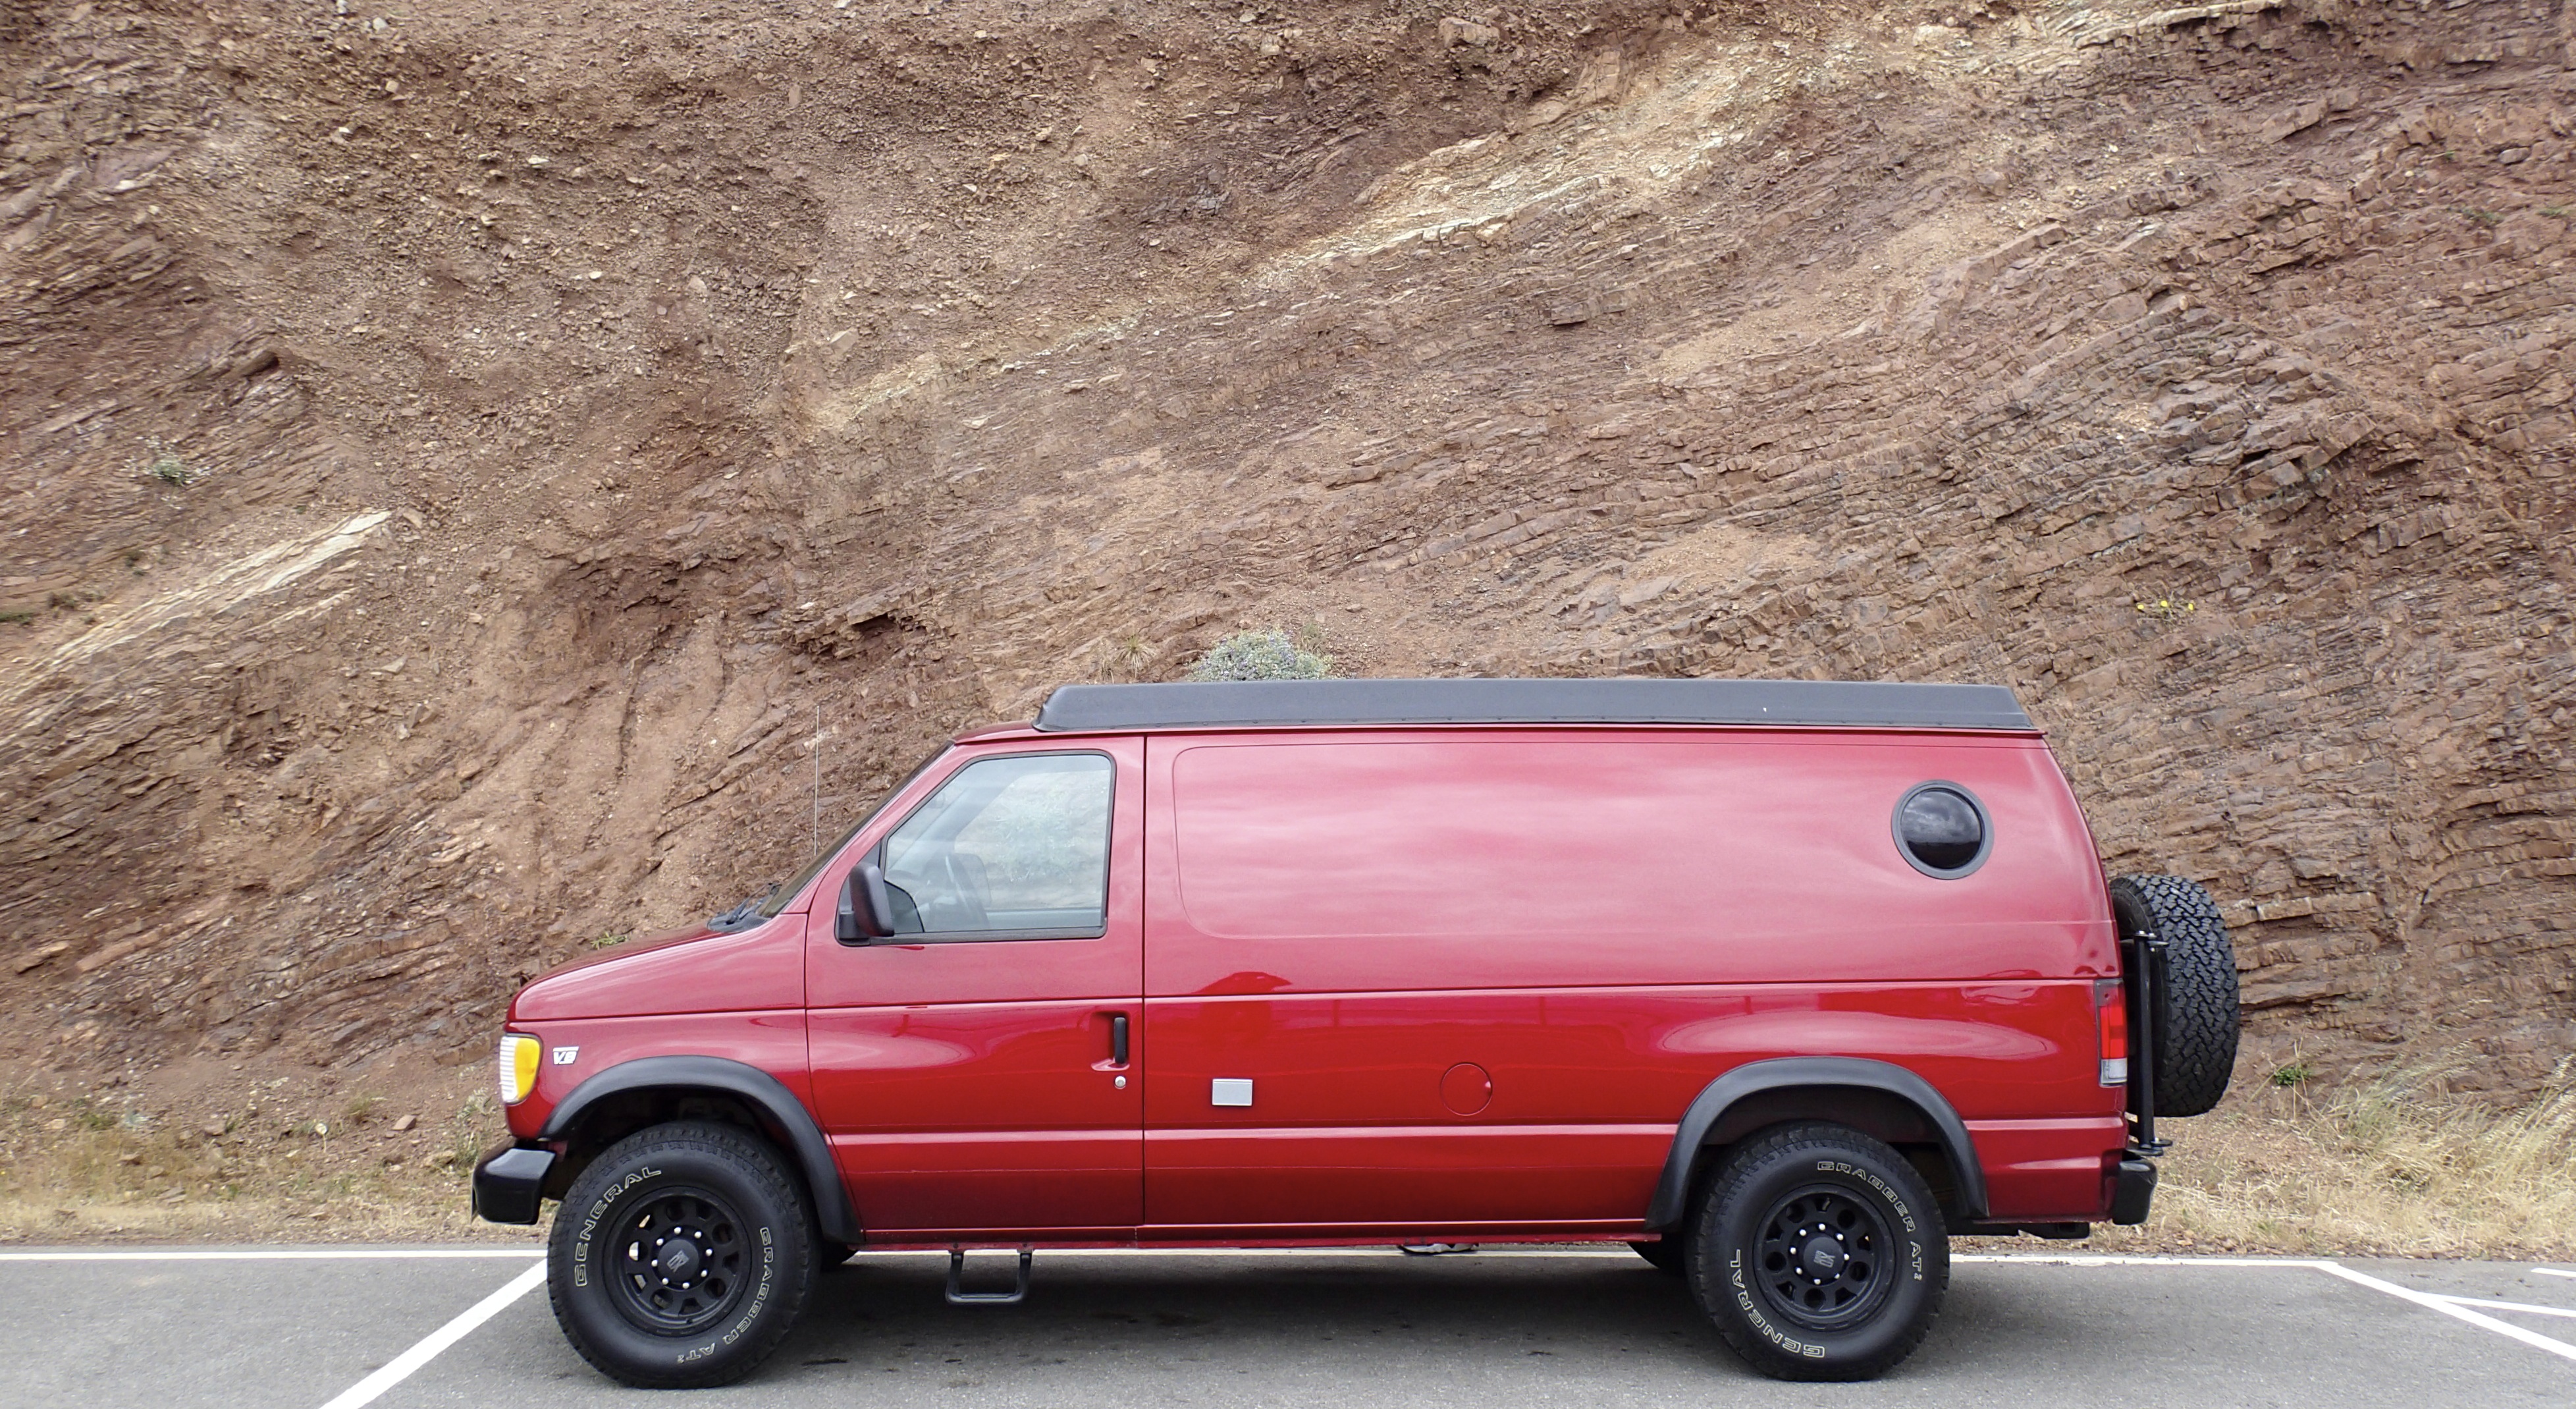
The porthole windows immediately changed the look of the van. A throwback to the van culture of the 1970’s, they will make this van incredibly unique on the road. These will be the only windows I install on the build, leaving the driver’s side an “open canvas” if I ever want to do a proper mural. As an added bonus, we added LED lights to the inside of the portholes, for a bit of extra flair.
Week 2
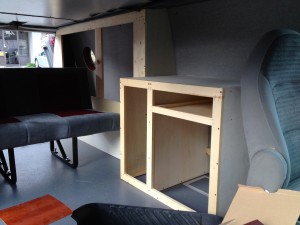
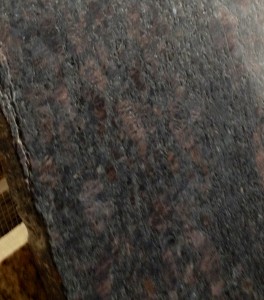
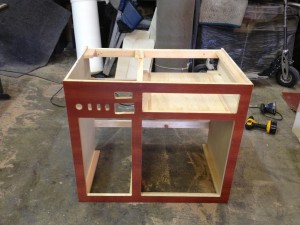
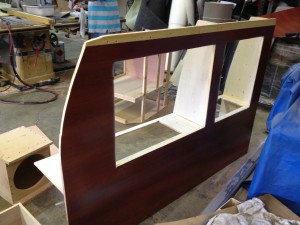
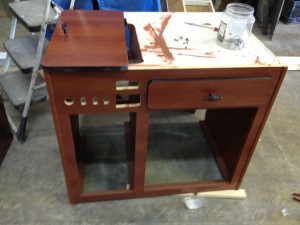
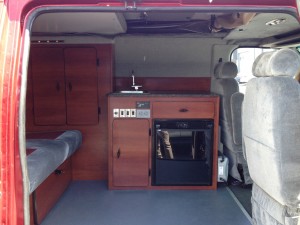
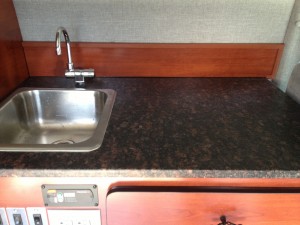
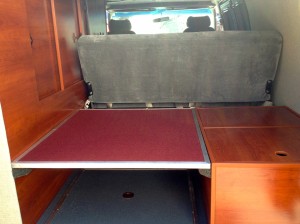
Here is the van during the mockup of the interior cabinets. As you can see the layout is similar to the Sportsmobile RB50, but without rear climate control or massive water tanks, there will be a lot more storage throughout. I wanted to keep the build as simple as possible – the more complexity or appliances the more things that can break and go wrong. As a minimum I knew I wanted a 110V inverter and running water. I decided on a refrigerator at the last moment over a basic icebox. I reasoned that a refrigerator would give me the option to keep fresher foods and eat healthier on the road. I also picked out the marble for the countertop. I choose a darker piece that had an unpolished texture to it.
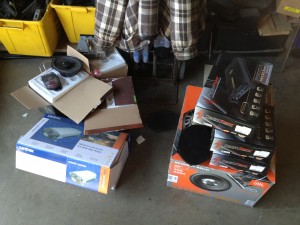
It was at this point that the stereo was ready to go in. A friend of mine at Apple helped to design the system. This system would not be on the level of his audiophile set-up, but I really appreciated his input. He was a big help in finding high quality components that would work well together at an economical price. We ended up with the following:
- Pioneer DEH-80PRS
- (3) sets of JL Audio C3-570 component speakers
- (2) PPI P900.4 amps
- (1) PPI P1000.1 amp
- JBL W12GTi MkII subwoofer
Week 3-4
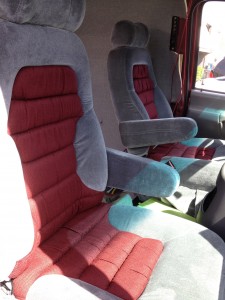
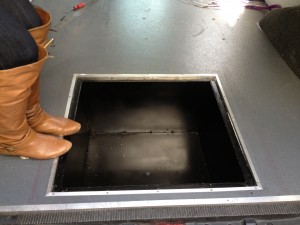
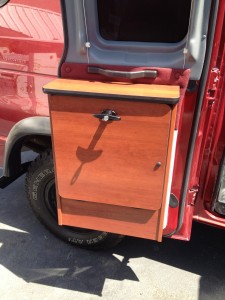
There was a lot of wiring that had to be done as well as final construction of the cabinets. Platinum Autoworks did a great job with the stereo install. It took a while for the front seats to come in, but the end result was well worth the wait! The seat material matched the rest of the van which really tied everything together. I also set-up the passenger seat to swivel which will open up the living space inside. The dark cherry cabinets and rustic hardware helped to further separate the CNDYVAN from other RVs. Additionally the rear floor storage was massive! This space will work out great to store firewood and other tools while on the road.
Final Delivery
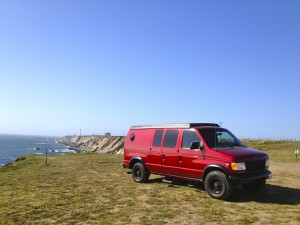
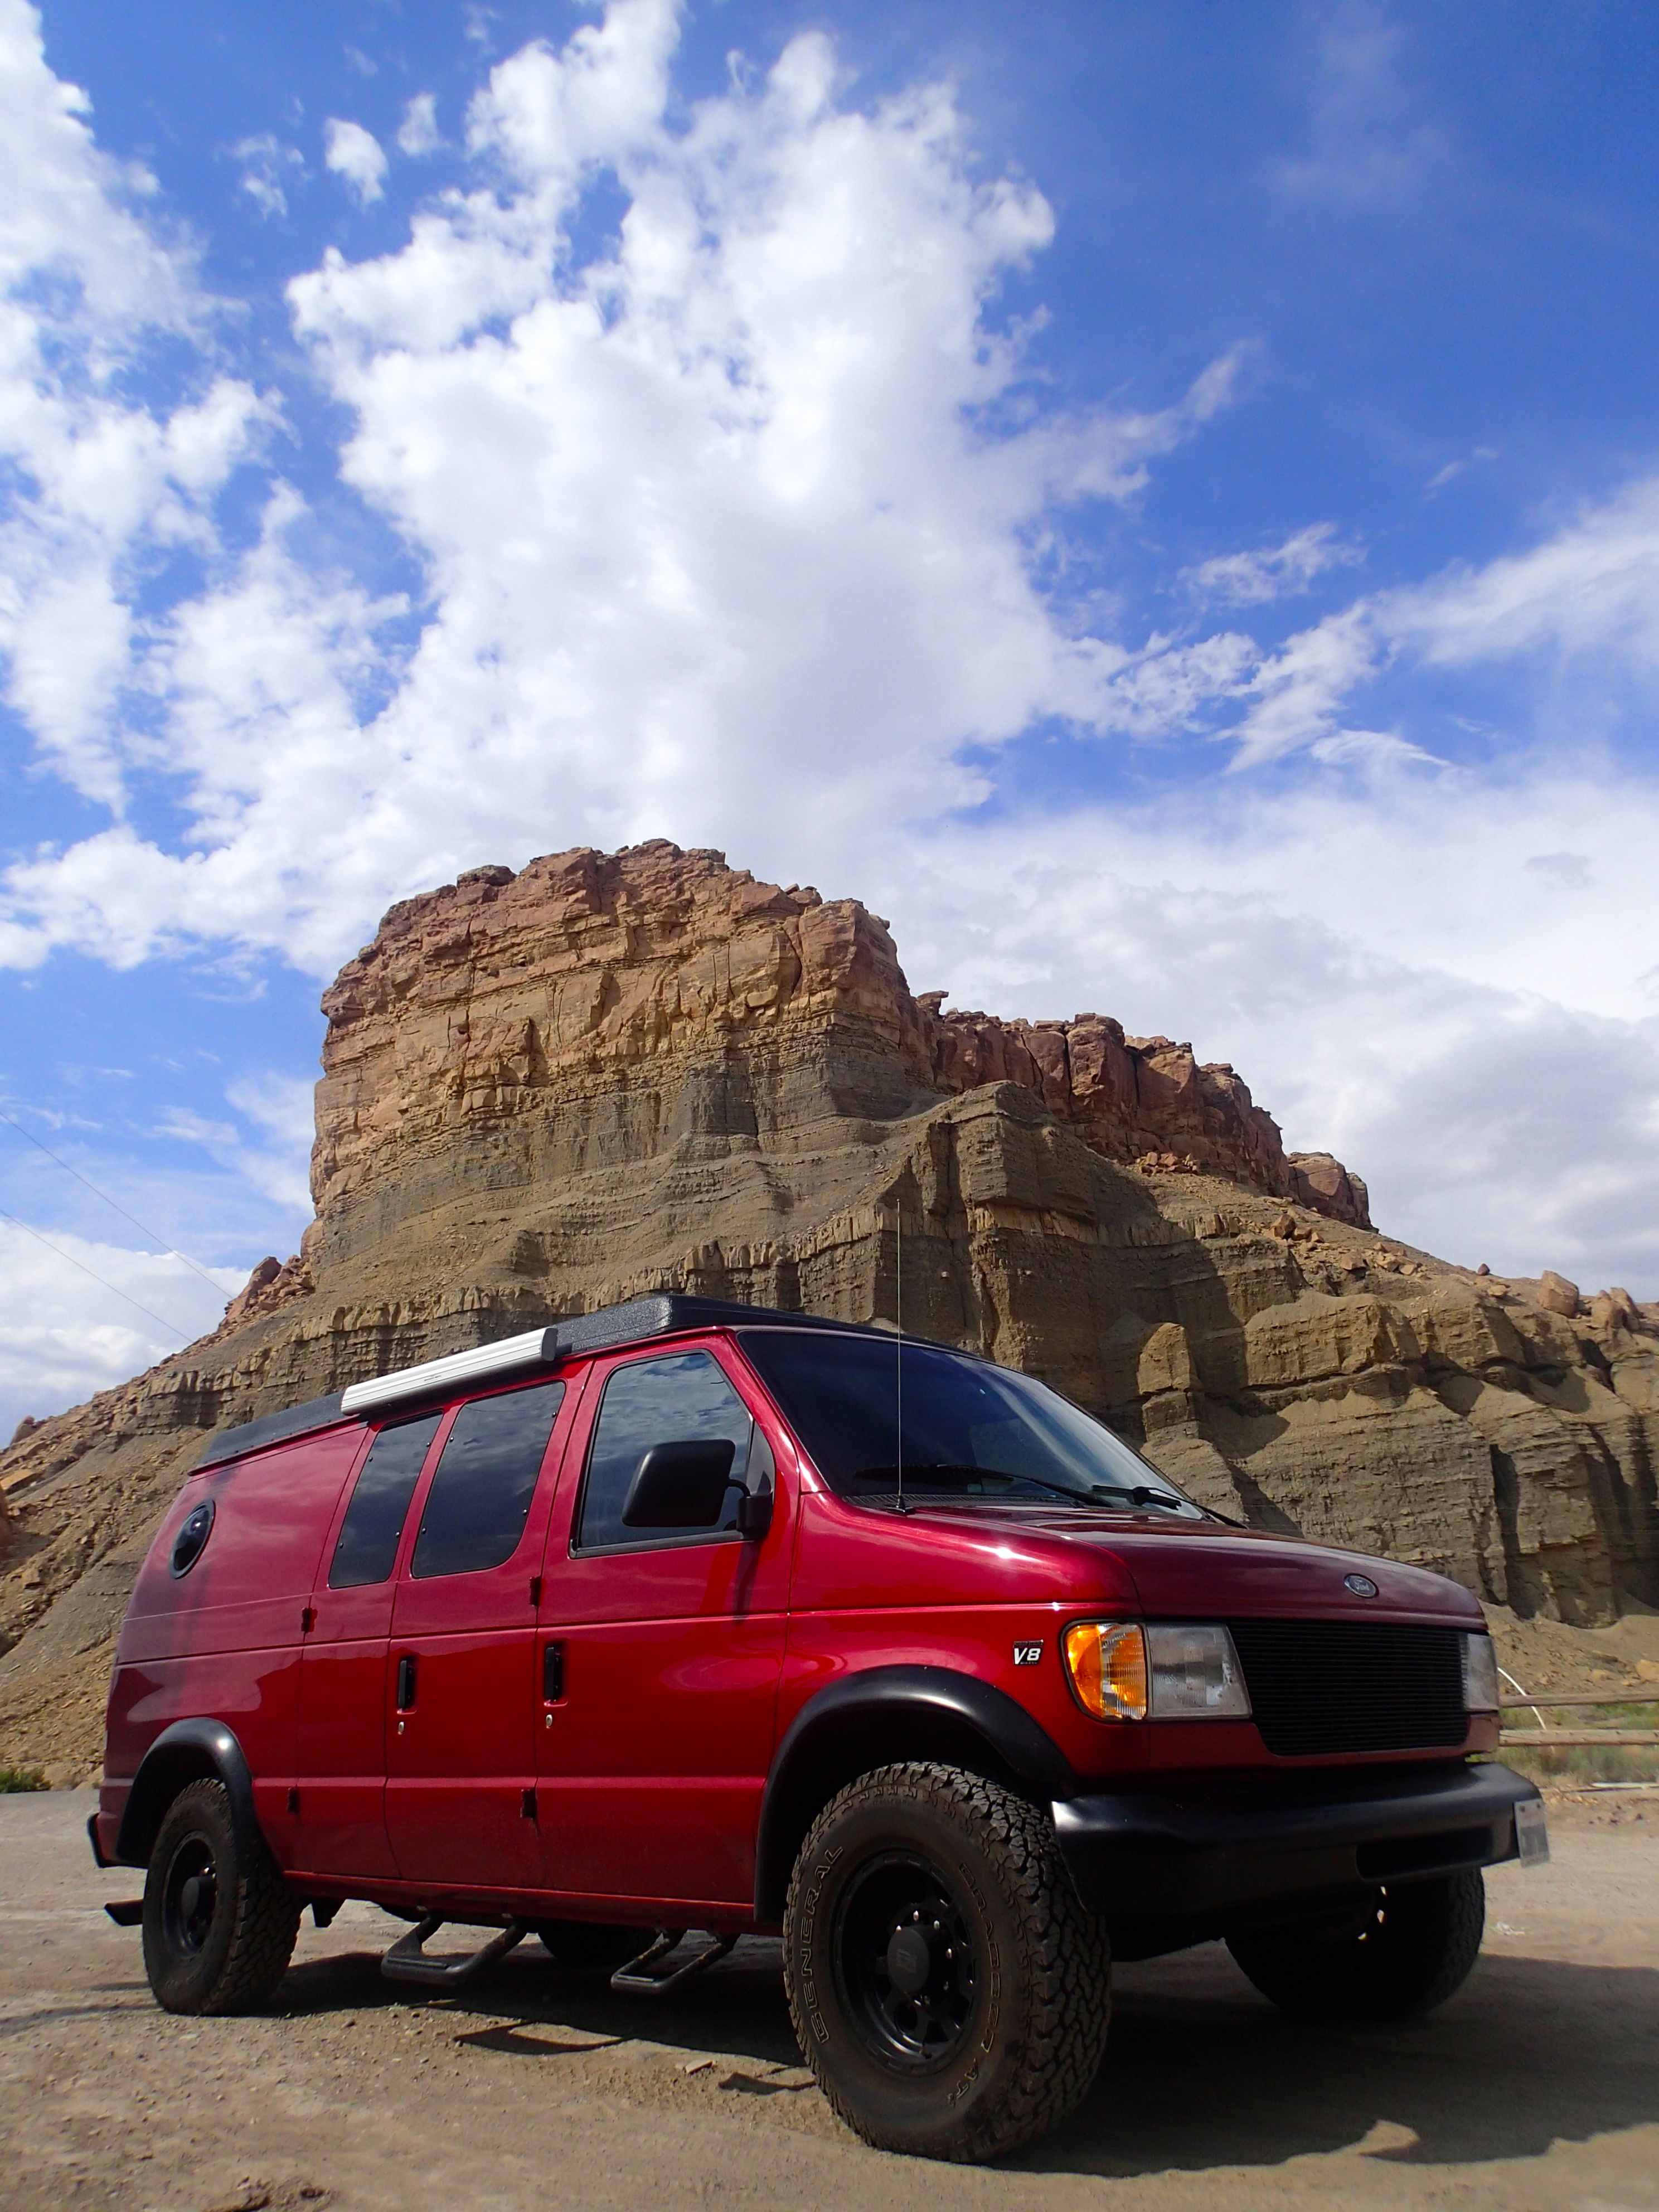
My father had a 1978 Ford van that he regularly camped in, so he flew out from Connecticut to take the first adventure in the new CNDYVAN. The exterior of the van got new bumpers, grill, and the top sprayed with Rhino Liner. The end result was amazing. Everything came together perfect and I could not wait to get out on the road. Now onto the final pictures:
Much thanks to all the people that helped out with this build and dealt with my obsession, you know who you are. Special thanks to Gary at Personalized Vans, who made this vision a reality. I look forward to sharing the van with friends and family for many years to come.
One Reply to “The CANDYVAN Build”
Thank you so much. this is on my web site.. I am glad you had a great time
Your Friend
Gary the vanguru